How to Make Candles: 4 DIY Candle Making Ideas for Beginners
DIY candles have always played a big part in my life, sometimes out of necessity, sometimes out of love. Growing up in a tropical region, summer hurricanes often left us without power, and my grandmother’s candles were truly lifesavers.
It was from her that I first learned how to make candles at home, though it wasn’t until I was in my 20s that I began making them as a hobby. Now, living in the Northeast of the U.S., hurricanes are rare, but candles continue to illuminate my life, both literally and figuratively.
Making your own candles is quite soothing. You get to play with different shapes, colors, and scents, and the light and aroma of a homemade candle instantly make a space feel cozy. DIY candles also make thoughtful gifts, perfect for a friend’s housewarming, a holiday, or even a little extra touch for Mom on Mother’s Day.
You might imagine that making candles at home is complicated, but once you get the hang of it, it’s easier than you expect. Some even find it to be a new favorite hobby!
In this guide, we’ll walk you through everything you need to start making candles at home: from beginner-friendly steps and key materials to tips, tricks, and some of our favorite DIY candle recipes. At the end of the post, you’ll also find a guide, like a recipe card for DIY candles, showing how to make your own candles from start to finish.
DIY Candles Materials
Before learning how to make candles, it’s important to understand the basic candle-making materials you’ll need. The good news? You don’t need anything overly complicated or expensive to get started. Most supplies are affordable and easy to find online on Amazon or at craft stores.
Below is a breakdown of the materials, what they do, and the options you can choose from depending on the type of candle you want to make.
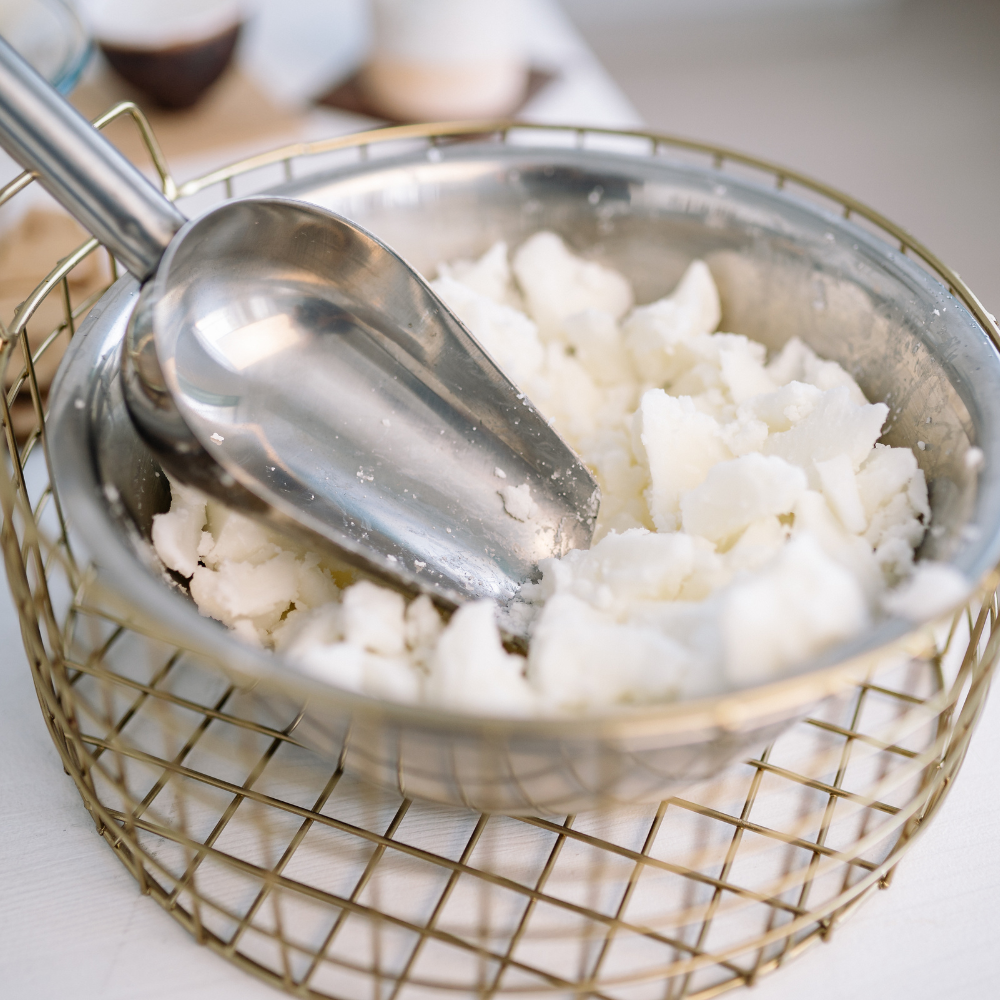
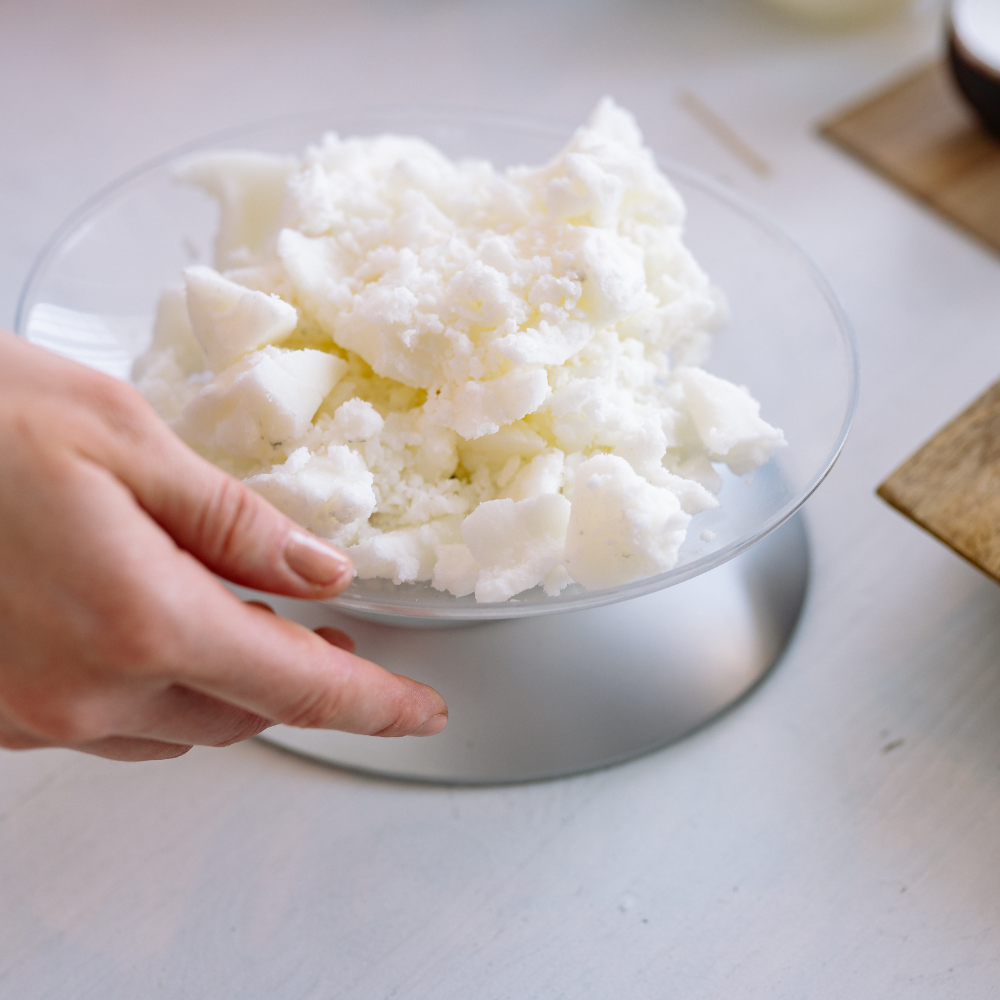
Types of Wax
Without wax you can’t make candles. Wax affects how your candle burns, smells, and looks.
Soy Wax: One of the most used options for DIY candles. Soy wax is plant-based and burns cleanly. It’s beginner-friendly and holds fragrance nicely.
Beeswax (yellow or white beeswax): A natural wax made by bees, known for its subtle honey scent and long burn time, but beeswax is usually more expensive.
Coconut Wax: A softer, eco-friendly wax made from coconut oil. It offers an excellent scent throw and smooth finish. It can be blended with soy wax for better structure.
Paraffin Wax: A traditional and widely available wax. It holds fragrance and color very well and is often used for pillar and molded candles. However, it’s petroleum-based and releases chemicals when burned; we do not recommend using this wax.
If you’re just starting out with DIY candles, soy wax is usually the easiest and most forgiving option.
Candle Wicks
The wick controls how your candle burns.
Cotton Wicks: The most common choice for homemade candles.
Wooden Wicks: These create a soft crackling sound when burning, similar to a fireplace. They may require some testing to get the right size.
Wick Size Guide
Choose your wick based on the width of your container or mold.
Small jars (2-3 inches wide): small or medium wick
Larger jars (3-4 inches wide): larger wick
Wide containers: may require double wicks
If the wick is too small, your candle may tunnel. If it’s too large, it can burn too hot and create soot.
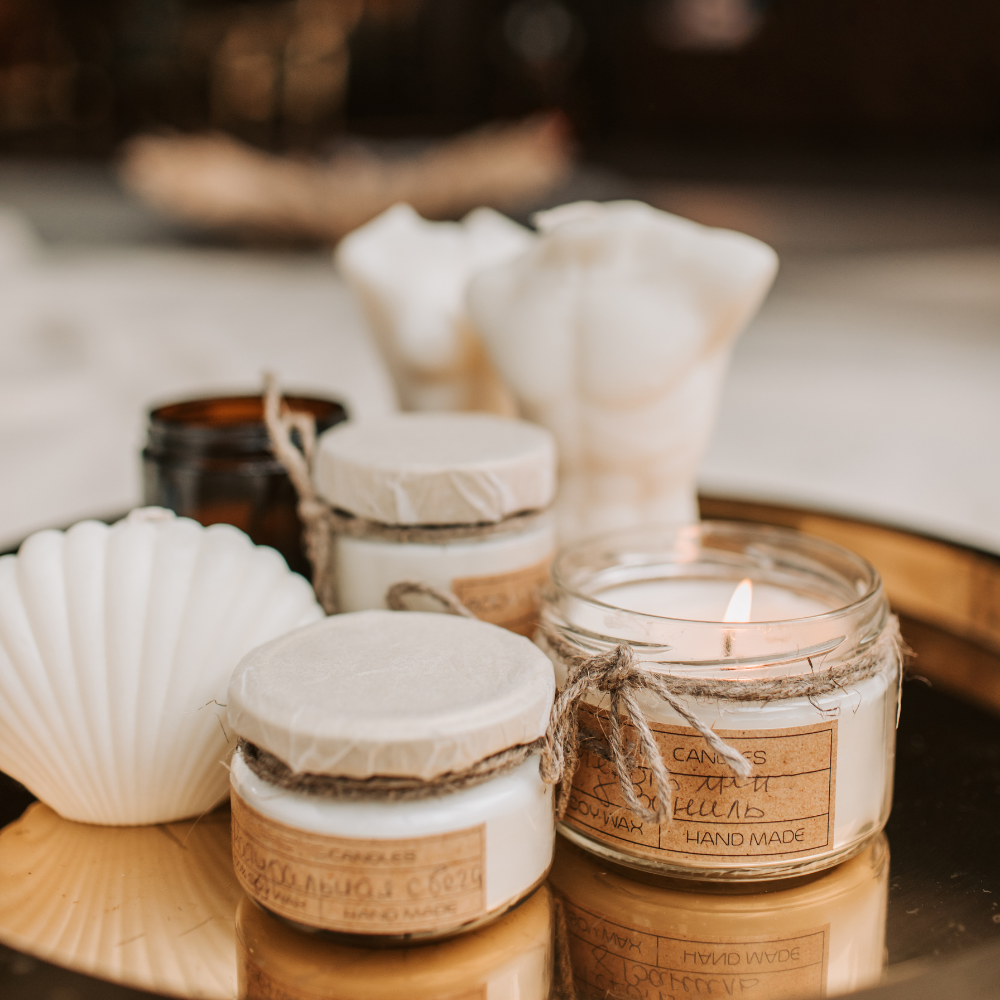
Containers & Molds
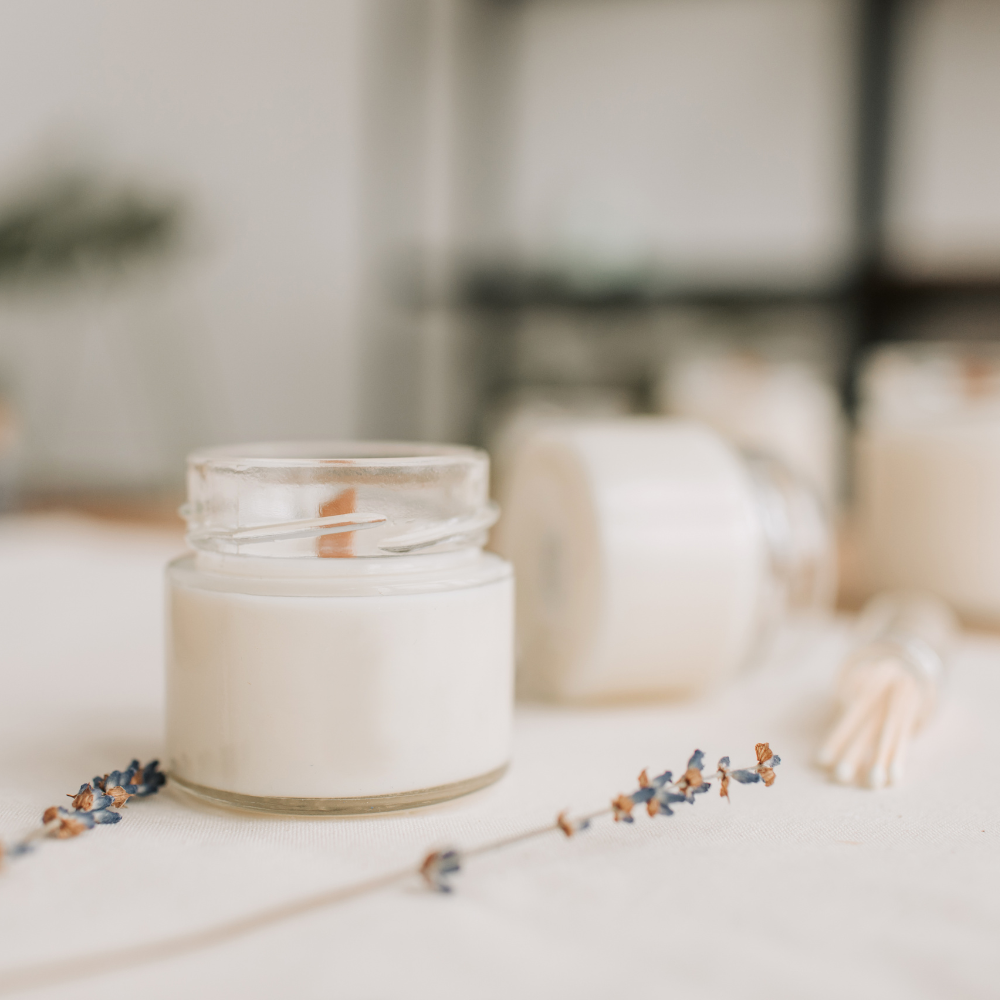
Glass Jars: Perfect for beginners. You can use mason jars or any heat-safe glass containers.
Metal Tins: They are great to use for gifting DIY candles.
Ceramic Containers: Stylish and reusable, ideal for home décor candles.
Silicone Molds: Used for pillar candles or decorative shapes. These allow you to get creative with hearts, shells, geometric shapes, and more.
Always make sure your containers are heat-safe and designed to handle hot wax.
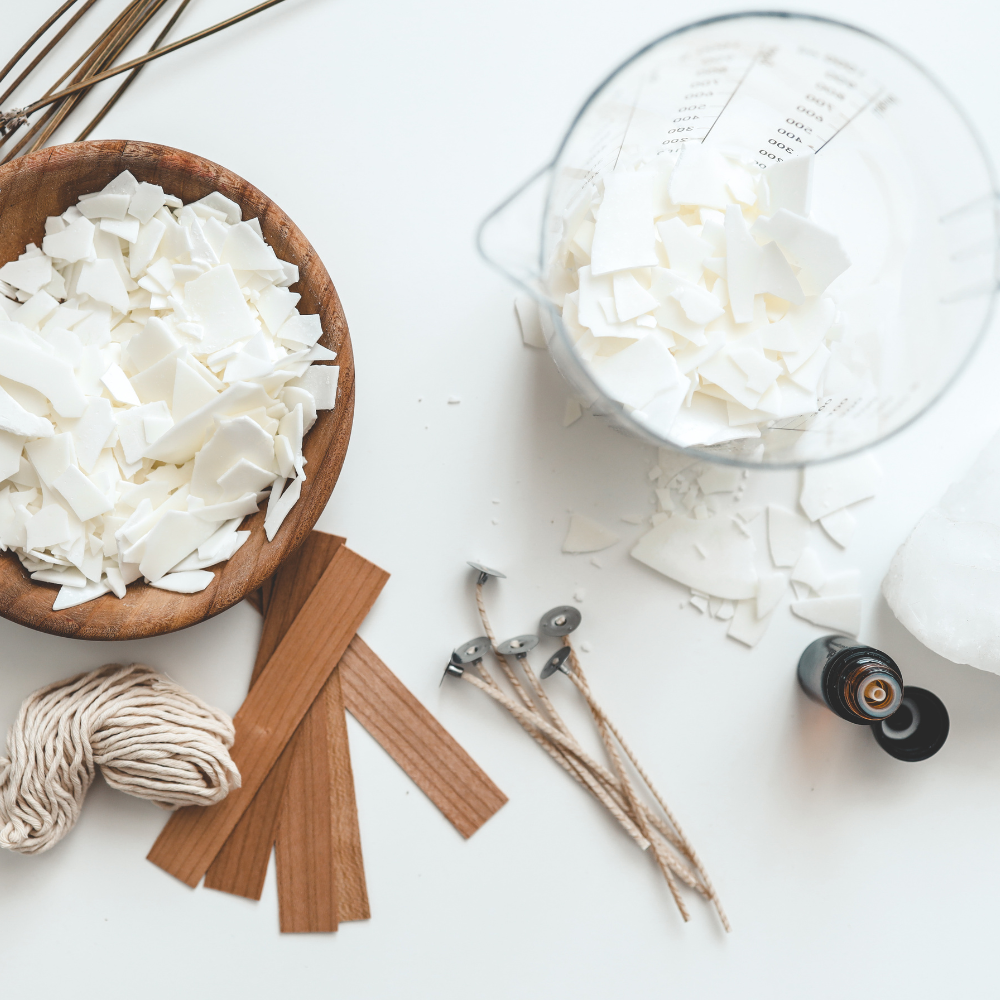
Fragrance Oils & Colorants
Fragrance Oils: Specially made for candle making. Some great scents to use include lavender, rose, eucalyptus, linen, vanilla, caramel, sandalwood, and cedar.
Essential Oils: Natural alternatives, but they may have a lighter scent throw compared to fragrance oils.
Tip: Always follow the manufacturer’s recommendations.
Tools
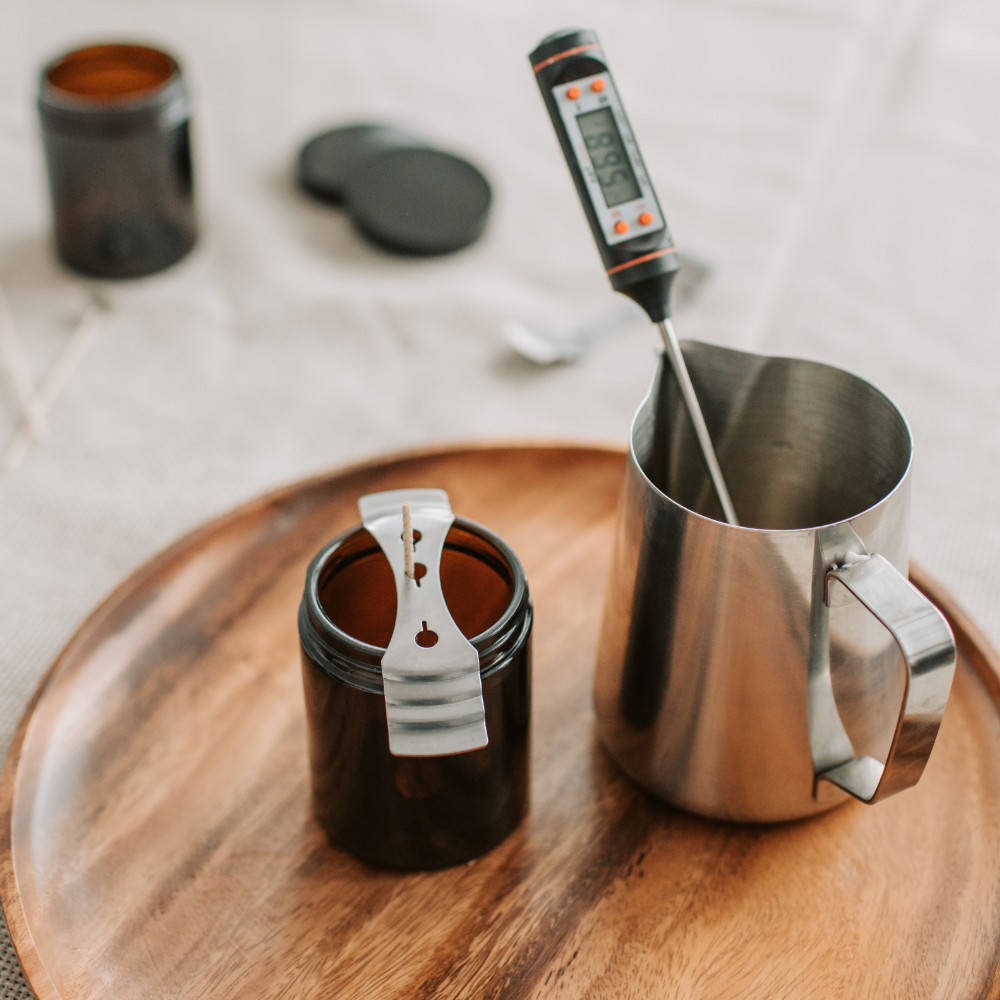
Scale and Measuring Cup: For measuring wax and fragrance accurately.
Thermometer: Helps you monitor wax temperature.
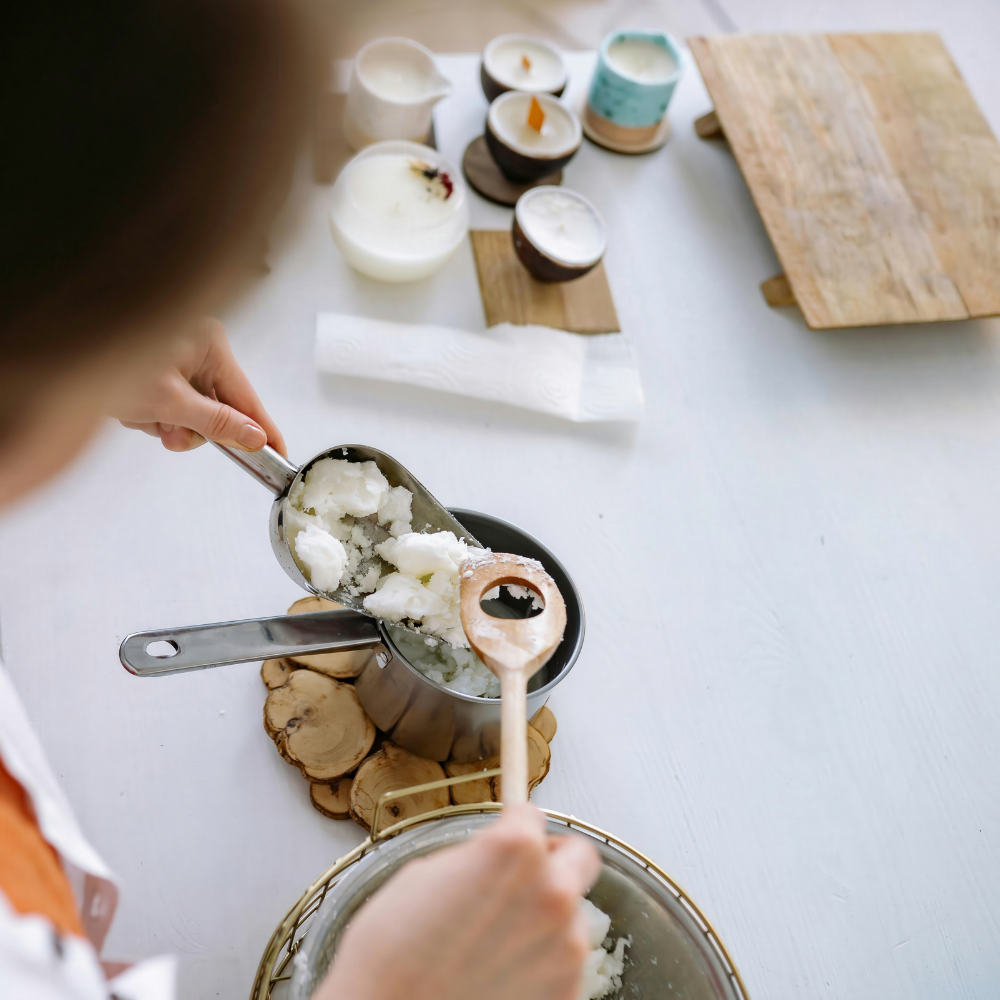
Double Boiler, Wax Melter (or Heat-Safe Pouring Pitcher): Prevents wax from overheating. Never melt wax directly over heat.
Gloves & Protective Surface: Hot wax can burn skin and damage surfaces, so protect your hands and workspace.
Wick Stickers or Glue Dots: Help keep the wick securely in place at the bottom of your mold.
How to Make Candles at Home for Beginners - Step by Step
Creating your own DIY candles is easier than it sounds, and it’s a lot like following a recipe. Think of your wax, wicks, fragrance, and containers as your ingredients, measure carefully, follow the steps, and you’ll have beautiful, fragrant candles in no time.
Before you begin, wash your candle containers and cover your working surface with newspaper, parchment paper, or old towels to protect against spills. Try to keep the area well-ventilated, especially when using fragrance oils.

Melt the Wax
The first step is melting your wax. Use a double boiler or a heat-safe pouring pitcher set inside a pot of simmering hot water. Never melt wax directly over an open flame.
The amount of wax you need depends on your container:
Two 8-oz jars: about 6-oz of wax weight
Alternative method: fill your container twice with wax flakes to reach the right amount of liquid wax
Most soy wax melts between 175-185°F (75-85°C), but always check your wax manufacturer’s guidelines. Monitor the temperature closely with your thermometer.
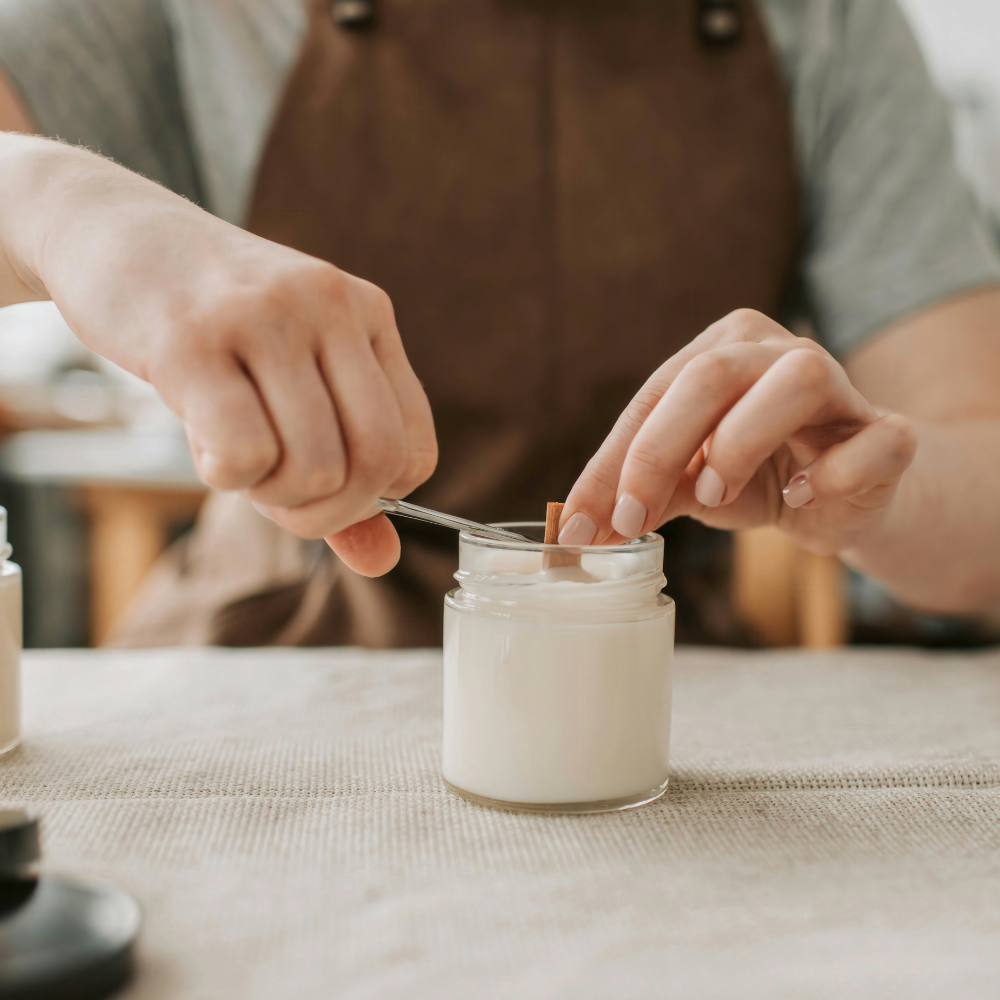
Attach Wicks to Containers
While the wax is melting, start attaching your wick(s) to the bottom center of your container using a wick sticker or a glue dot. Press firmly to hold it in place.
To keep the wick straight and centered, use a wick holder, clothespin, or pencil across the top of the container. Proper positioning prevents tunneling and ensures an even burn.
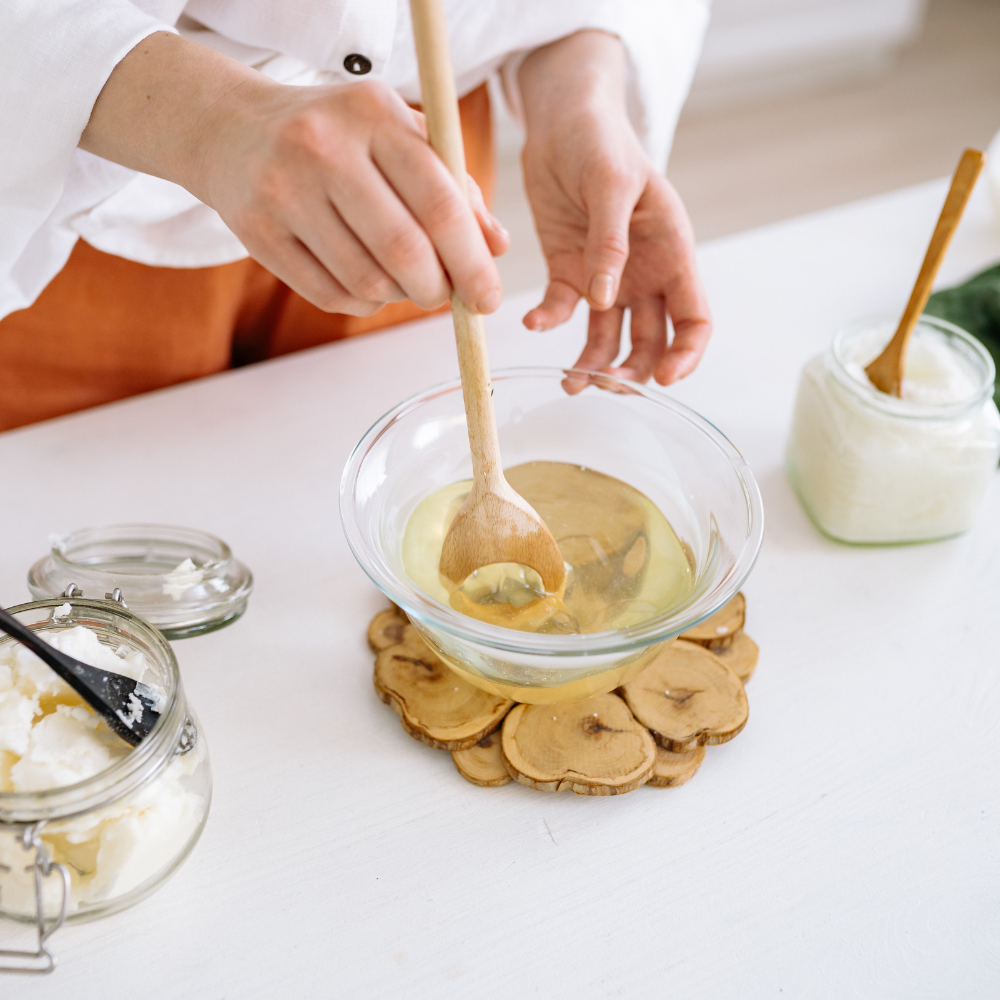
Add Fragrance and Color
Once your wax is fully melted and slightly cooled (around 170-180°F for soy wax), add fragrance oils and color. Stir gently but thoroughly for 1-2 minutes to mix well.
Most waxes require 6-10% fragrance oil by weight. We usually use 7-8%, but always follow the supplier’s instructions for best results.
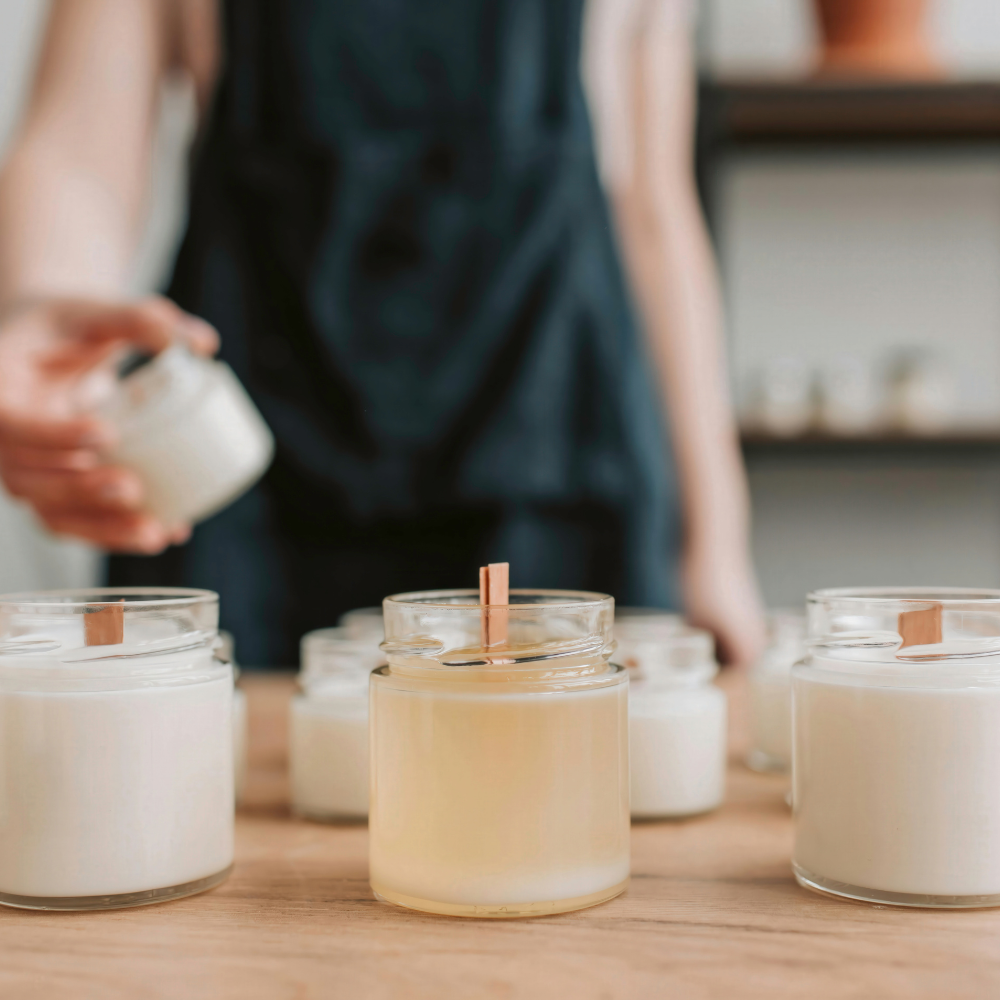
Pour the Wax Carefully
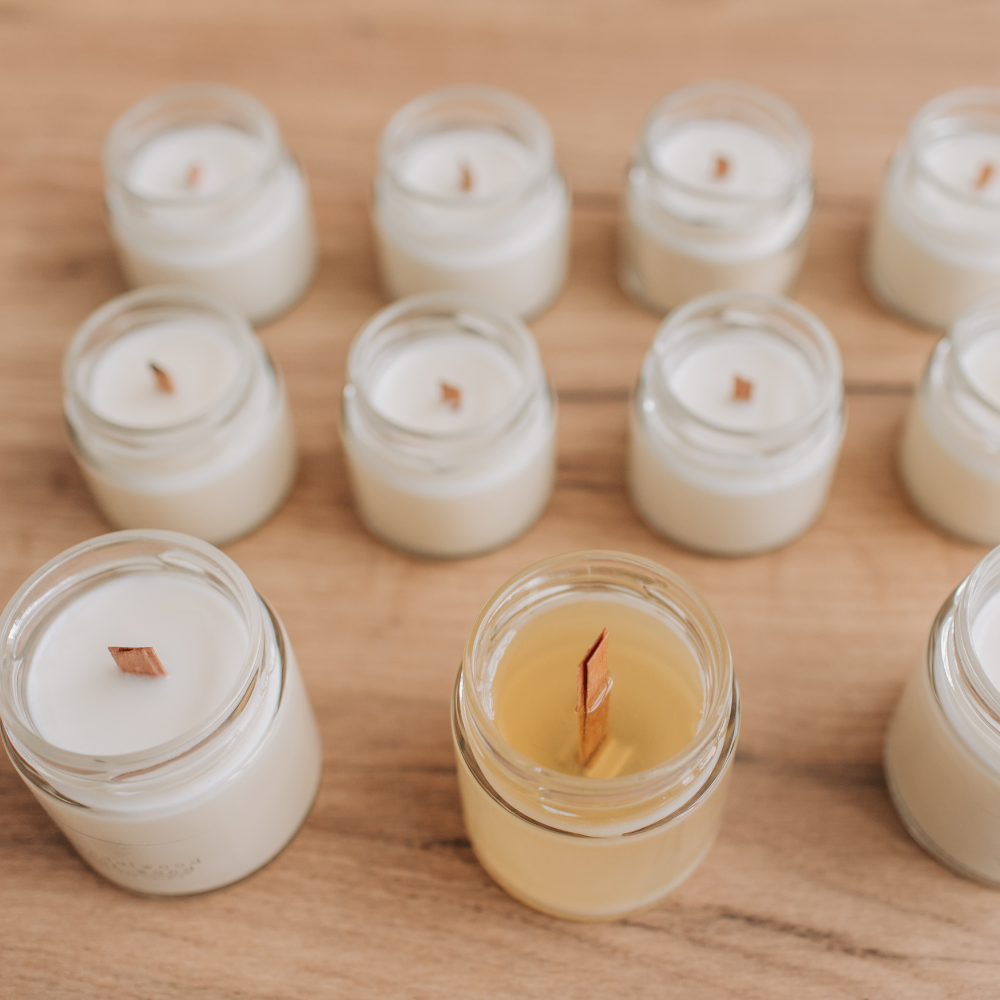
Allow the wax to cool to the ideal pouring temperature (about 135-145°F for soy wax), then pour it carefully into your prepared container. Pour slowly and steadily to minimize air bubbles, leaving a little space at the top.
Avoid moving the candle immediately after pouring to prevent surface imperfections.

Candle Harden and Trim the Wick
Let your candle cool and harden completely at room temperature. This usually takes 24 hours, depending on the container size. For the best scent throw, some candle makers recommend curing soy candles for 3 days before lighting.
Patience at this stage improves the overall quality and longevity of your candle.
After the candle has completely hardened, cut the wick to roughly ¼ inch. This helps create a clean, even burn and reduces soot.
Tips for Perfect Homemade Candles
Making beautiful DIY candles takes a little practice, but these DIY candle tips and tricks can help you get consistently great results.
Avoid Bubbles: Pour your wax slowly and steadily to prevent air bubbles.
Prevent Tunneling: Center your wick carefully and ensure it’s the right size for your container. A wick that’s too small can create tunnels as the candle burns. Also, let your candle cure fully before lighting.
Mixing Scents Effectively: Blend essential or fragrance oils into slightly cooled wax. Start with recommended percentages (usually 6-10% fragrance oil by weight) and adjust in future batches until you find the perfect balance.
Use leftover wax: Re-melting leftover wax is a great way to reduce waste. Just remove old wicks and any debris before melting.
DIY Candle Ideas
Here are four simple, non-toxic DIY candle recipes you can try at home. Each recipe includes ingredients, measurements, and step-by-step instructions.
Orange & Rosemary Scented Candle
Ingredients:
~6 oz of soy wax by weight (not volume) or 1.25 cups of solid unmelted soy wax flakes for an 8-oz candle
4% orange fragrance oil by weight
6% rosemary fragrance oil by weight
1 cotton wick
Instructions:
Melt the soy wax using a double boiler until it reaches 175-185°F (80-85°C).
Remove from heat and let cool slightly to 170°F (77°C).
Stir in the orange and rosemary essential oils for 1-2 minutes.
Attach the wick to the bottom of your jar using a wick sticker or glue dot.
Slowly pour the wax into the jar, leaving about ½ inch from the top.
Let the candle cool and set completely at room temperature.
Trim the wick.
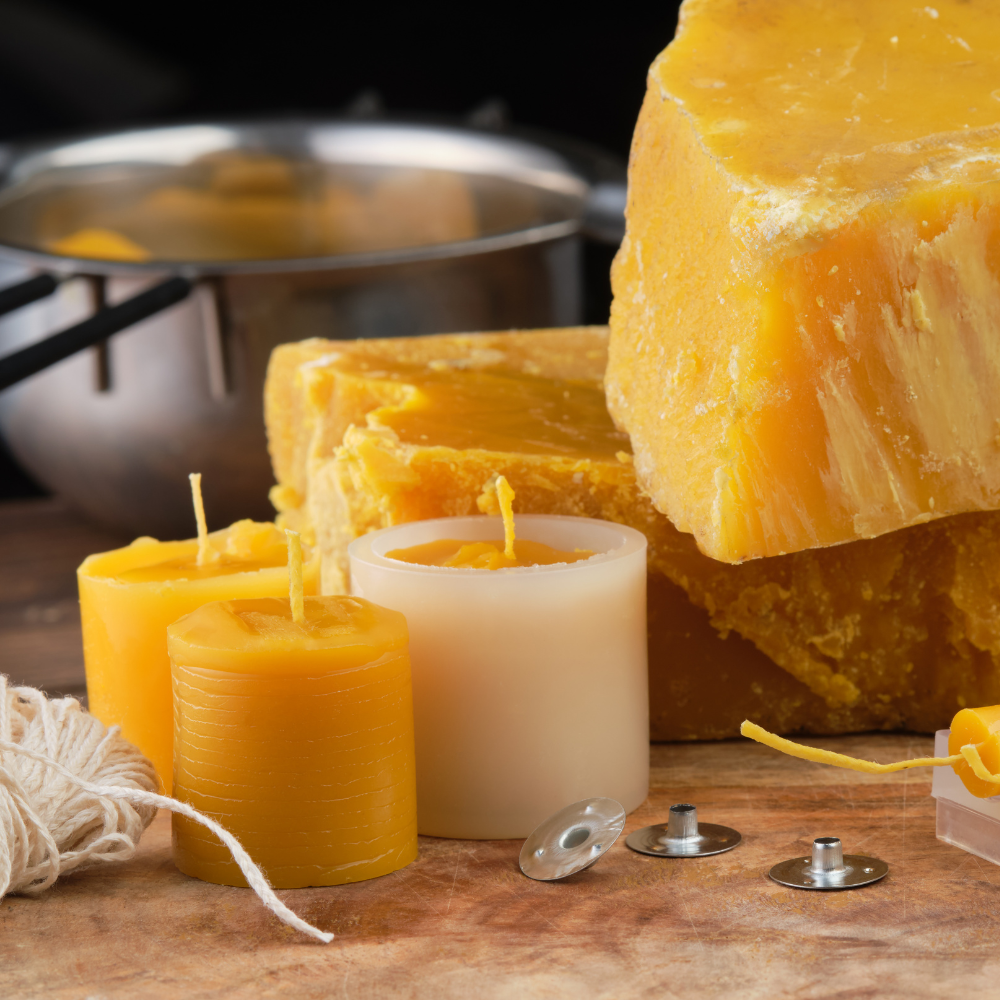
Coconut Oil & Beeswax Candle
Ingredients:
1 pound of yellow beeswax pellets
½ cup coconut oil
1 cotton wick
Instructions:
Melt the beeswax and coconut oil over a double boiler until fully liquid.
Secure the wick in the center of your container.
Pour the melted mixture slowly into the container, leaving ½ inch from the top.
Allow the candle to cool and harden.
Trim the wick and light your candle.
Mint & Coffee Bean Homemade Candle
Ingredients:
~6 oz of soy wax by weight (not volume) or 1.25 cups of solid unmelted wax pellets for an 8-oz candle
8% peppermint fragrance oil by weight
2 teaspoons ground coffee
1 cotton wick
Instructions:
Melt the soy wax in a double boiler to 175-185°F (80-85°C).
Let it cool slightly to about 170°F (77°C) before adding the peppermint essential oil and ground coffee.
Attach the wick to the bottom of the jar.
Pour the wax into the jar slowly, leaving ½ inch at the top.
Let cool completely for 24 hours.
Trim the wick and burn. It’s great as a bug repellent.
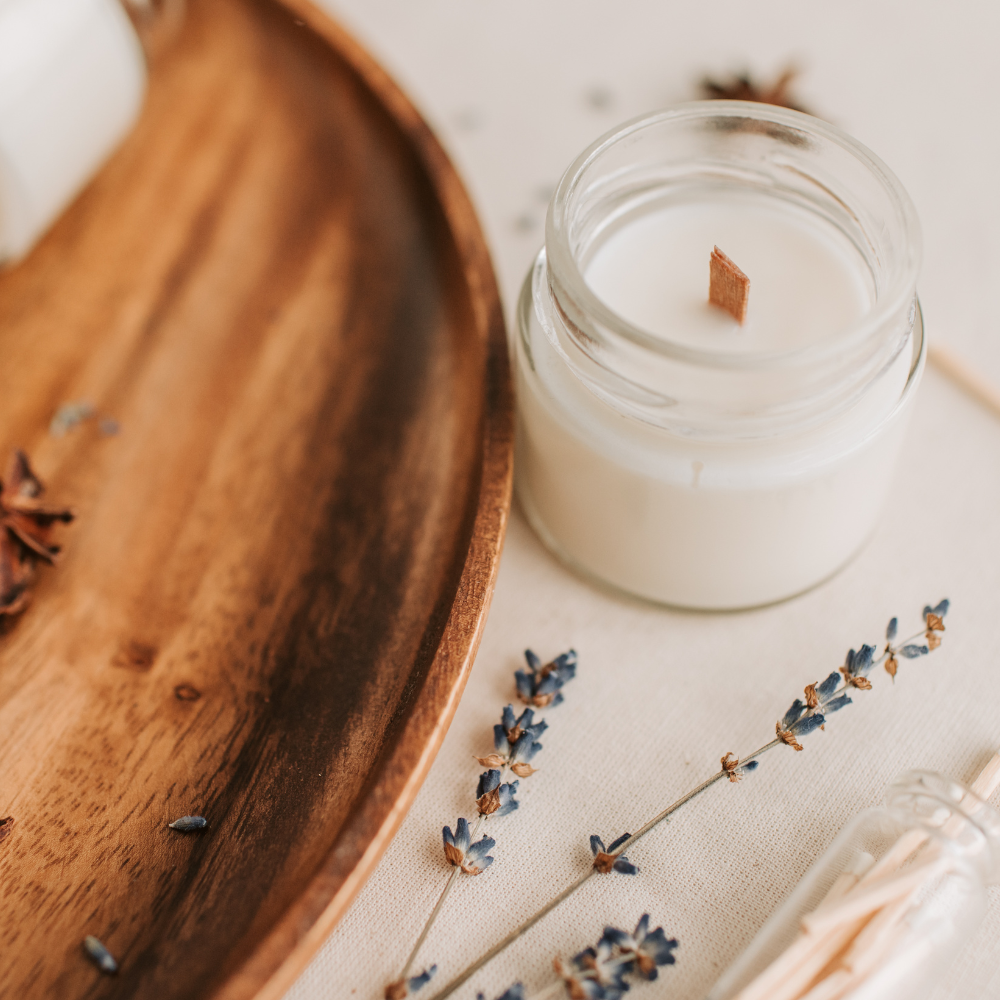
Vanilla & Lavender DIY Candle
Ingredients:
~6 oz of coconut wax by weight (not volume) or 1.5 cups of solid unmelted wax pellets for an 8-oz candle
5% lavender essential oil by weight
5% vanilla essential oil by weight
1 cotton wick
Instructions:
Melt the wax in a double boiler according to the manufacturer’s instructions.
Allow the wax to cool slightly, then stir in the vanilla and lavender oils.
Attach the cotton or wood wick to the center of your jar with a wick sticker or glue dot.
Pour the wax carefully into the jar, leaving about ½ inch at the top.
Let your essential oil candle sit at room temperature for at least 4 hours.
Trim the wick and light your relaxing, non-toxic vanilla-lavender candle.
Safety Notes for your DIY Candles
These candle-making safety tips keep your DIY project safe.
Be Careful with Add-Ins: Avoid placing dried botanicals, such as oranges or lavender, directly into your candle unless you know they’re safe. They can ignite while burning.
Handle Hot Wax with Care: Always melt wax in a double boiler or heat-safe container. Wear gloves and protective clothing to prevent burns, and never leave it unattended.
Proper Ventilation: Work in a well-ventilated area to avoid inhaling fumes, especially when using fragrance oils.

DIY Candles
DIY candle guide shows you how to make homemade candles using natural wax and oils.
Ingredients
- ~6 oz soy wax by weight (or 1.25 cups wax pellets)
- 8% fragrance oil by weight (most waxes require 6-10% fragrance oil by weight)
- 1 cotton wick
- 1 small 8 oz glass jar
Instructions
- Melt the soy wax in a double boiler until 175°F -185°F
- Remove from heat and let cool slightly to 170°F
- Stir in fragrance oils for 1-2 minutes.
- Secure the wick at the center bottom of the jar with a wick sticker or glue dot.
- Slowly pour the wax into the jar, leaving about ½ inch at the top.
- Let the candle cool completely at room temperature.
- Trim the wick to ¼ inch and light your candle.
Notes
- Avoid bubbles by pouring slowly.
- Cure for 3-7 days for a stronger scent throw.
- Always follow safety precautions when handling hot wax.
Nutrition information is automatically calculated and should be used as an estimate. Use your own calculations when needed.