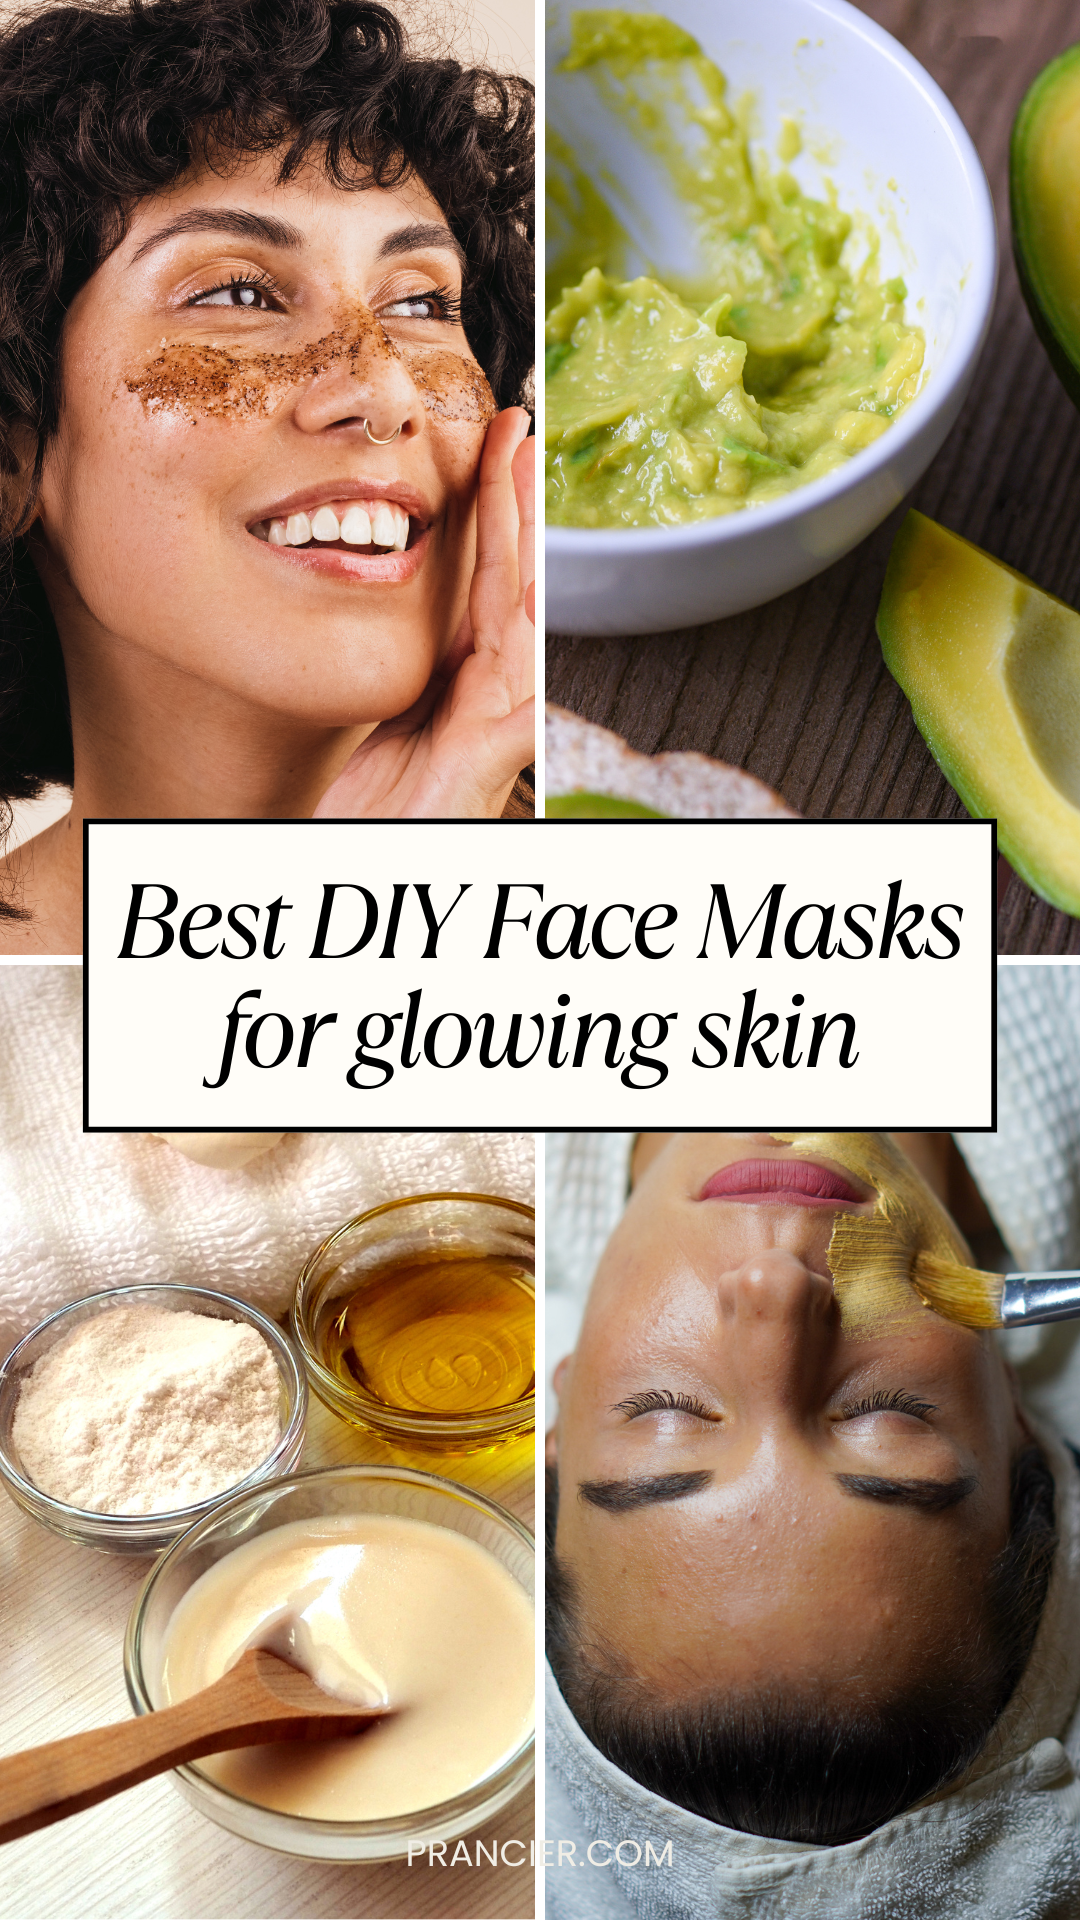
10 DIY Face Mask Recipes for Glowing Skin
When I was a little girl, Sundays in my house always smelled like honey, yogurt, mashed avocado, or whatever my mom had whisked together for her latest DIY face mask.
She would walk around the house doing her chores, folding laundry, washing dishes, reorganizing cabinets, with a thick layer of a homemade face mask on her skin, completely unfazed.
Some of them looked a little yucky to me back then, and I did not fully understand why she loved them so much. But as a teenager, I started appreciating those masks. And now, as an adult, I love them.
They have become a comforting reminder of home, of slow self-care, and of the benefits of using natural ingredients on your skin, which is exactly why I am sharing them with you today.
My mom and grandma introduced me to homemade skin masks. They grew up using everyday ingredients for healthy skin, long before clean beauty became a trend. They taught me that you do not need fancy products, just a few natural ingredients from the kitchen.
Even though we all have completely different skin types: my mom’s sensitive and fair, my grandma’s mature and combination, and mine oily and tan, DIY face masks worked beautifully for every single one of us.
These simple recipes soothed dryness, calmed irritation, brightened dullness, and kept our skin soft and radiant. Over the years, they proved again and again that nature often provides the most effective skincare of all.

How Often to Use a DIY Face Mask
How often you should use a homemade face mask depends entirely on your skin type, your environment, and how your skin is behaving that week. If your skin gets oily faster or you have clogged pores, a face mask once every 10 days may be just what you need. When the weather is dry, or your skin feels a little drier, applying a mask once a week can help maintain balance.
My skin tends to get really dry in the colder months, so I love applying a DIY face mask once every 5 to 7 days. But in summer, when my forehead and cheeks get a little tanner, I slow down to once every 15 days. Just like your body, your skin will always tell you what it needs if you listen closely.
Note: If you are using exfoliating or brightening ingredients such as rice, fruit enzymes, or yogurt, make sure your schedule still gives your skin time to replenish between treatments.
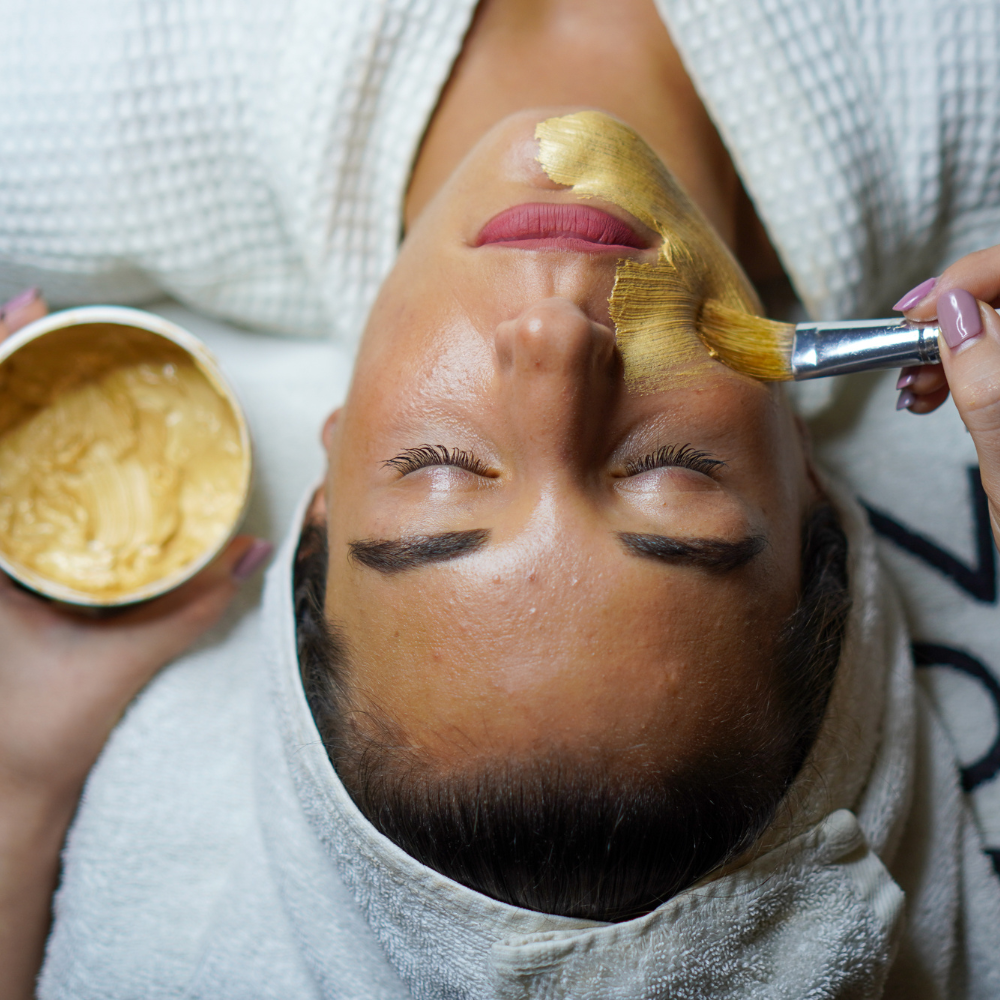
Post Mask Care
Your skin is at its softest right after applying a DIY face mask. Don’t forget:
Rinse your mask off with Cool water
This helps tighten your pores and reduces any leftover heat from ingredients like turmeric, ginger, or matcha.
Air-dry or Gently Pat, Never Rub, and Apply Moisturizer
I personally let my face air-dry and use only a soft towel to pat-dry any excess water in my eyebrows. Rubbing a towel across your face can irritate your skin and undo the soothing effects of your DIY face mask. If you prefer drying with a towel, keep it gentle and stick to light patting.
Applying moisturizer after your mask keeps your face feeling smooth and supported. A lightweight facial oil or soothing cream does wonders. These are some of my favorites:
Algenist Face Serum with Collagen and Vitamin E
Shiseido Moisturizer for Normal to Dry Skin
Don’t Forget Sunscreen
After using a homemade face mask, your skin can be more sensitive to sunlight. Sun protection keeps your skin looking healthy and prevents dark spots from returning. These are some great sunscreens:
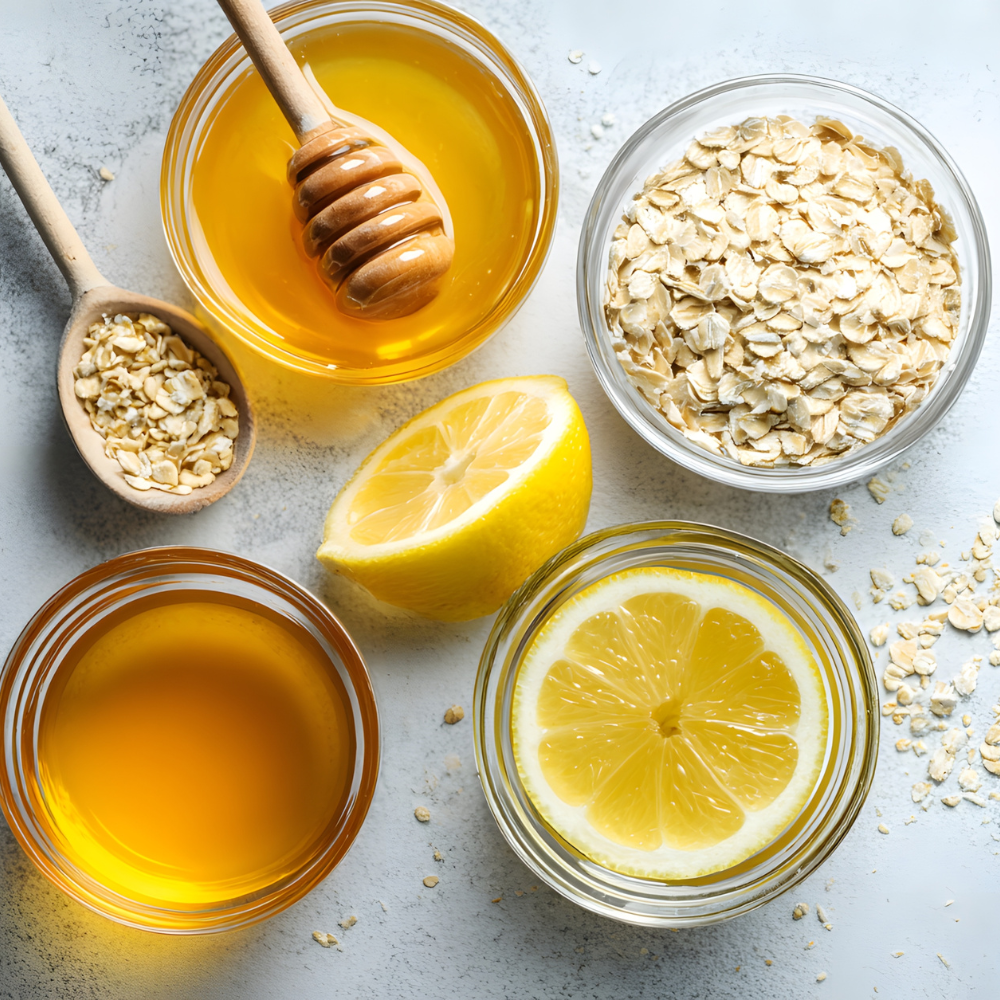
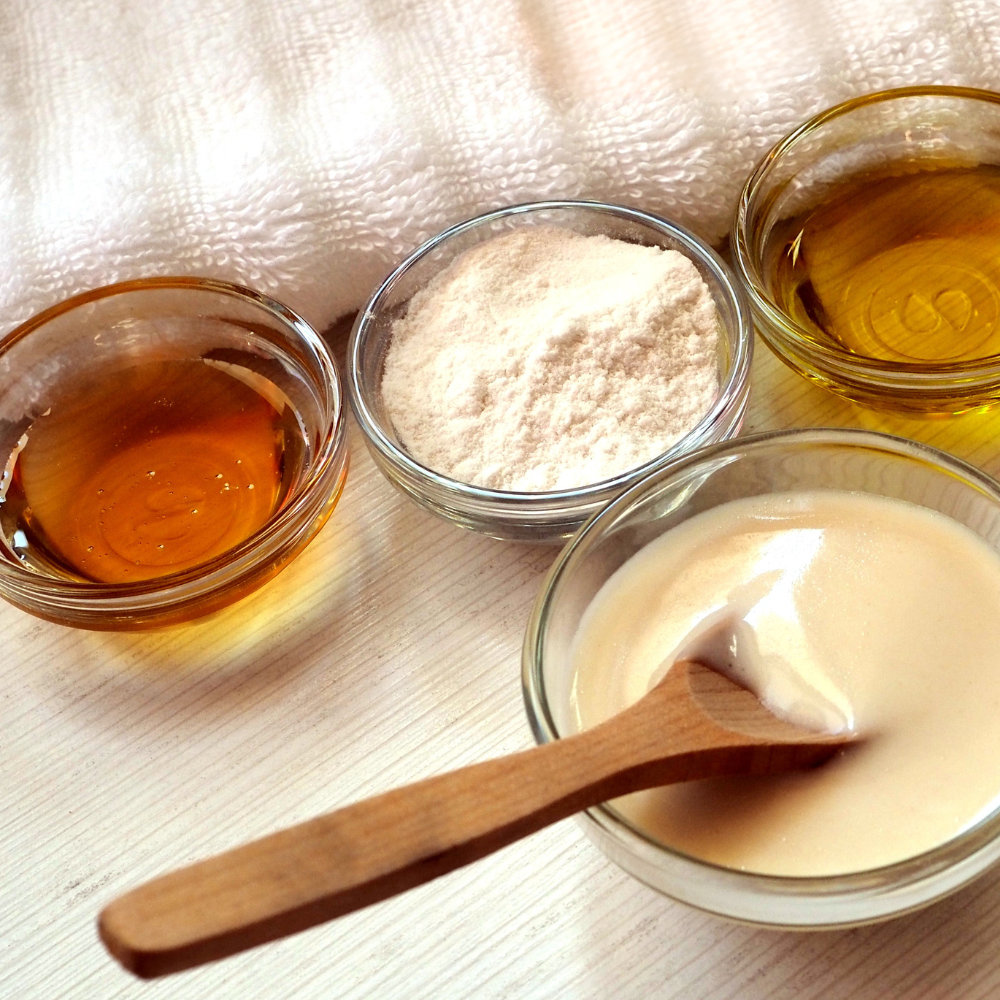
Ingredients for a DIY Face Mask
These are some of the most effective ingredients to use when creating a homemade face mask. Each one offers its own unique benefits. You can mix and match all these natural ingredients to create your ideal DIY face mask.
Honey is a star ingredient for almost any homemade face mask. It is naturally antibacterial, which helps prevent breakouts and soothe existing blemishes. Honey also pulls moisture into the skin, leaving it soft and refreshed. It is especially wonderful for acne-prone or irritated skin and can be used multiple times a week.
Oats: Finely ground oats are calming and ultra-gentle. They help soothe redness and reduce irritation, making them perfect for dry, sensitive, or hot-feeling skin. Oats offer mild exfoliation and pair beautifully with almond milk or yogurt in a natural face mask DIY recipe.
Aloe Vera hydrates instantly while helping irritated or sun-exposed skin feel better faster. It works well in masks for redness, dehydration, or sensitive complexions.
Yogurt contains natural lactic acid that brightens the skin by gently dissolving dull surface cells. It helps smooth texture and works beautifully in a DIY face mask for glowing skin. Use plain, unsweetened yogurt for best results.
Avocados are rich in good, healthy fats and nourish even the driest skin. They restore the moisture barrier and bring back that plush, healthy bounce. Use them as the base for a deeply moisturizing homemade face mask.
Matcha is filled with antioxidants that help calm inflamed, stressed skin. It improves circulation and supports a brighter, more even look. It is especially beneficial for combination or oily skin types.
Cooked Rice: Rice helps soften, brighten, and smooth uneven skin texture. Use it in a gentle, brightening face mask.
Turmeric helps reduce discoloration and inflammation. A tiny amount delivers big benefits in a DIY face mask for acne or dark spots. Always mix with hydrating ingredients like yogurt or honey.
Ground coffee mildly exfoliates and boosts circulation. It wakes up tired-looking skin and brings a fresh, lively glow. It is a favorite for firming and depuffing treatments.
Papaya contains natural enzymes that help brighten your skin tone and remove dead skin. It is excellent for smoothing rough texture and refreshing dull complexions with a healthy radiance.
Watermelon hydrates while delivering antioxidants that help protect against environmental stress. Use it to create a light summertime homemade face mask that feels refreshing and clean.
Cucumber cools and calms heat and puffiness. It is perfect for irritated or oily skin that needs a fresh start. Add a few mint leaves for an energizing boost.
Ginger helps support circulation, giving your complexion a natural brightness. When used lightly, it can help reduce dullness and unevenness.
Egg whites tighten the look of pores and help control shine. They create a smooth finish that is perfect before makeup. Always patch test first if you have very sensitive skin.
Coconut oil hydrates and softens the skin thanks to its rich fatty acid content. Use it on dry, flaky areas that need extra love.
Olive oil is full of powerful antioxidants and contains vitamin E. It creates a silky barrier that keeps the skin from losing moisture. Perfect for a winter-time moisturizing mask.
Blueberries deliver antioxidants that help reduce redness and defend against free radicals. They make stunning brightening masks with just a little mashing and honey.
Almond milk adds a creamy base to soothing DIY face masks and provides gentle hydration. Ideal for sensitive skin that needs calming support.
Rose water helps soften skin and balance tone. It enhances hydration and leaves a subtle natural glow.
Tea Tree Oil: Helps manage breakouts and fight acne-causing bacteria. Use sparingly in DIY face masks for acne-prone skin.
Vitamin E Oil is deeply nourishing and helps support skin repair and elasticity. Adding 2-3 drops to any DIY face mask adds antioxidant protection.
Tools to make your homemade face masks
You don’t need anything fancy, but these are some of the tools I use:
• Silicone masking brush
• Small glass jars for storage
• Cold jade roller to apply/alleviate puffiness

How to Make a DIY Face Mask at Home
These homemade face masks are simple to create and made with fresh ingredients you already have at home.
Cooling Rice and Aloe Vera DIY Face Mask
Best for: irritated skin, redness, heat sensitivity
Skin type: sensitive, combination
Ingredients
2-3 tbsp cooked rice
2 tbsp aloe vera gel
1 tsp honey
water
Instructions
Blend rice, aloe vera, and water until creamy.
Stir in honey if extra hydration is needed.
Apply for 10 to 15 minutes.
Rinse with cool water and enjoy the refreshing feel.
Tip: Refrigerate the mixture before applying for a spa-style cooling effect.

Avocado and Honey Deep Moisture Mask
Best for: dry or dull skin
Skin type: dry or mature
Ingredients
½ ripe avocado
1 egg yolk
1 to 2 tablespoons of honey
1 to 2 tsp olive oil
Instructions
Mash avocado and egg yolk into a silky cream.
Add honey and olive oil.
Gently massage for 20 minutes.
Rinse with warm water and apply moisturizer.
Tip: Apply after a warm shower so your skin can soak in all the nourishment.

Soothing Oat and Almond Oil Face Mask
Best for: irritated, itchy, reactive skin
Skin type: sensitive or dry
Ingredients
½ cup finely ground oats
1 tbsp almond oil
1 tbsp almond milk
1 to 2 tsp honey
Instructions
Combine oats, almond milk, and almond oil in a bowl.
Stir in honey until smooth.
Leave the mask for 10 to 15 minutes.
Rinse gently with lukewarm water.
Tip: Massage lightly while rinsing for extra softness and comfort.

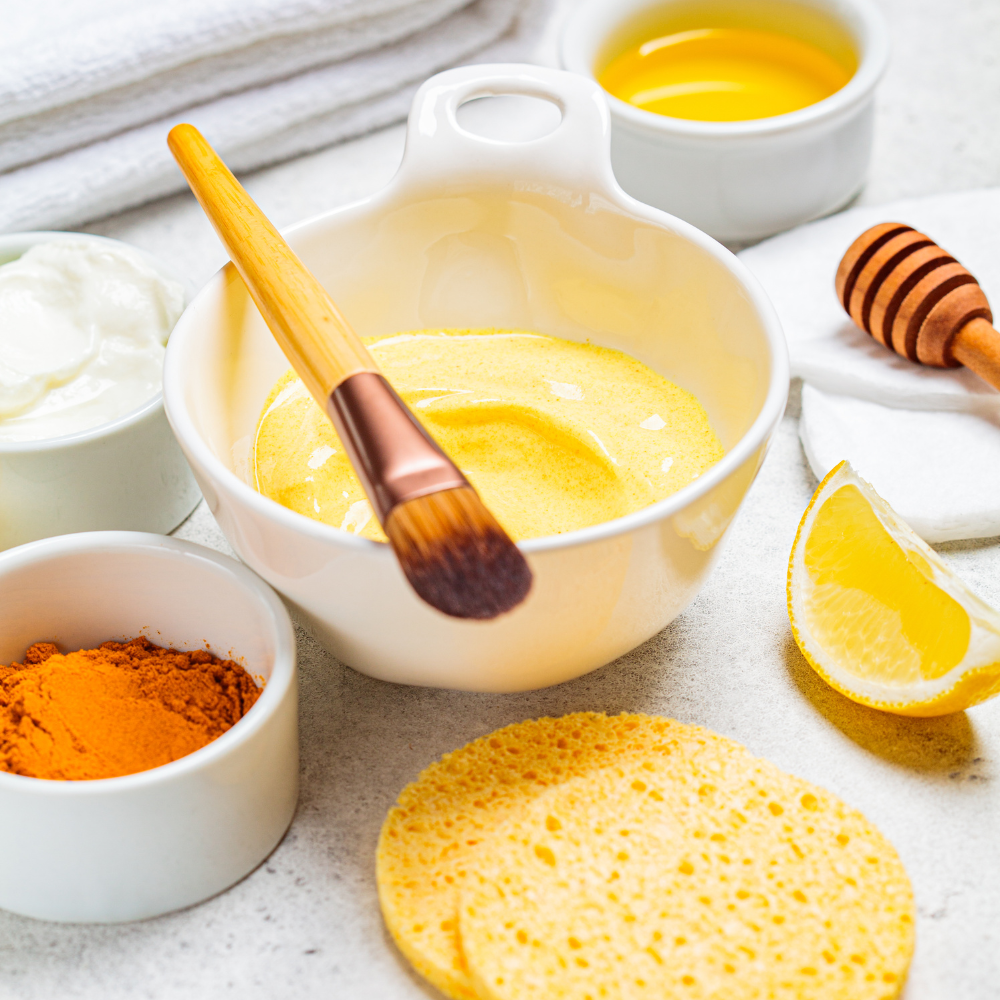
Turmeric and Yogurt Radiance Mask
Best for: acne marks, dark spots, uneven tone
Skin type: oily or combination
Ingredients
1 tsp turmeric
2 tbsp plain yogurt
1 tsp honey
Instructions
Mix turmeric, yogurt, and honey.
Spread a thin layer across the face.
Leave on for 8 to 10 minutes.
Rinse very well to avoid staining.
Tip: Always use a darker towel with turmeric masks.
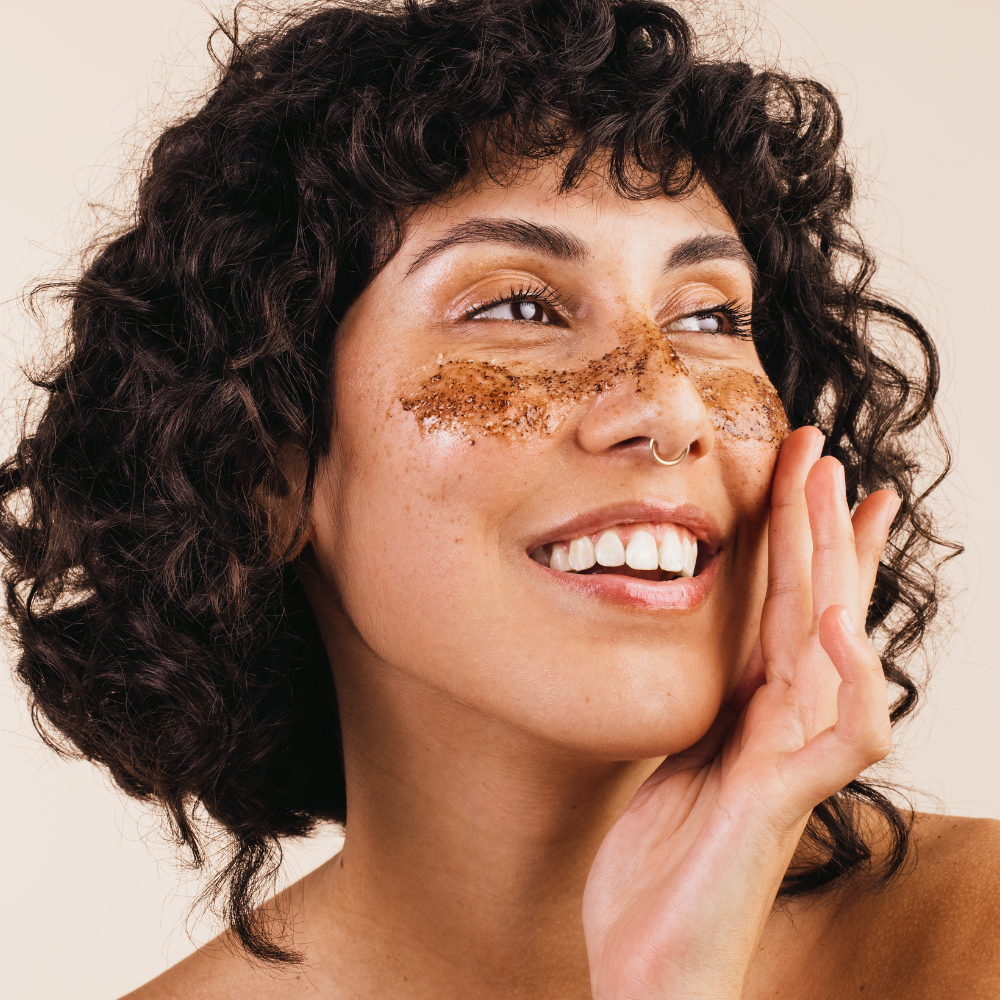
Coffee and Coconut Oil Firming Mask
Best for: tired skin, puffiness, dullness
Skin type: normal or combination
Ingredients
2 tbsp ground coffee
1 tbsp coconut oil
1 tsp honey or aloe
Instructions
Blend or mix ingredients into a paste.
Massage onto skin for 10 to 12 minutes.
Rinse while gently exfoliating.
Tip: Any extra becomes a perfect lip scrub.

Mint and Cucumber Refreshing DIY Face Mask
Best for: puffiness, clogged pores, detoxifying
Skin type: oily, normal, or combination
Ingredients
¼ cucumber
4 to 5 mint leaves
1 tbsp aloe vera gel
Instructions
Blend into a smooth gel.
Apply for 10 minutes.
Rinse with cold water.
Tip: Leftovers can be used as a cooling eye gel the next morning.

Ginger and Cocoa Butter Nourishing Mask
Best for: dullness, dryness, fine lines
Skin type: dry or mature
Ingredients
2 tbsp ginger juice
2 tbsp melted cocoa butter
1 tbsp honey
3 drops vitamin E oil
Instructions
Mix all ingredients until smooth.
Apply for 15 minutes.
Rinse with lukewarm water.
Tip: This mask feels wonderful before bed and leaves skin soft until morning.
Matcha and Blueberry Homemade Face Mask
Best for: redness, sensitivity, anti-inflammatory
Skin type: sensitive or normal
Ingredients
1 tsp matcha powder
2 tbsp mashed blueberries
1 tsp yogurt
Instructions
Blend together until creamy.
Leave on for 15 minutes.
Rinse gently with cool water.
Tip: A little honey can be added for extra calming benefits.
Papaya and Watermelon Glow DIY Mask
Best for: uneven skin texture, clogged pores, dull tone
Skin type: all
Ingredients
4 to 6 papaya cubes
4 watermelon cubes
1 tsp honey
Instructions
Blend into a smooth puree.
Spread on the face for 10 to 12 minutes.
Rinse with cool water.
Tip: Use before makeup for instantly brighter-looking skin.
Egg White Tightening and Pore Minimizing Mask
Best for: large pores, oily skin, shiny T zone
Skin type: oily or combination
Ingredients
1 egg white
½ tsp baking soda
A few drops of lemon juice, optional
Instructions
Whisk egg white until foamy.
Add baking soda and optional lemon juice.
Apply a thin layer for 7 to 10 minutes.
Rinse well with warm water.
Tip: Avoid lemon if your skin is sensitive.
How to Choose the Right DIY Face Mask for Your Skin Type
Every skin type has different needs, and choosing the right homemade face mask can make all the difference in how your skin responds. Here is a simple guide to help you pick the best mask based on what your skin is asking for.
Oily or Acne Prone Skin
Best ingredients: clay, turmeric, yogurt, honey, lemon zest, matcha, coffee
Why it works: These ingredients help reduce breakouts, balance excess oil, and clear clogged pores while still keeping your skin healthy.
Dry or Sensitive Skin
Best ingredients: oats, avocado, almond oil, honey, aloe vera, coconut oil
Why it works: These soothing and deeply moisturizing ingredients help nourish the skin barrier, reduce irritation, and bring back softness.
Combination or Normal Skin
Best ingredients: cucumber, rice water, blueberries, watermelon, rose water
Why it works: These are gentle ingredients that refresh, hydrate, and brighten without overwhelming any area of your face.
Mature or Dull Skin
Best ingredients: egg white, cocoa butter, vitamin E oil, ginger, papaya
Why it works: These boost radiance, improve elasticity, and support smoother-looking skin over time.
Dehydrated or Tired Looking Skin
Best ingredients: aloe vera, honey, coconut milk, green tea
Why it works: These ingredients restore hydration and help skin look instantly more refreshed and glowing.
How to Store Leftover DIY Face Masks Safely
Because these recipes are made with kitchen ingredients and no preservatives, treat them like food:
Store tightly covered in a small glass jar
Refrigerate immediately
Use within 48 hours
If it smells “off,” toss it and make a fresh batch
Exceptions:
Masks with egg or dairy should be discarded after 24 hours.
Masks with only oils and dry powders may last up to 1 week when refrigerated.
Your skin changes constantly. Seasons shift, stress shows up, hormones do their thing, and suddenly what felt perfect last month might feel too much today. Making your own DIY face mask at home allows you to listen to your skin and switch up ingredients based on exactly what it needs in the moment. You can use a cooling aloe vera face mask one week, a creamy avocado hydrating homemade face mask the next.
I hope these homemade face mask recipes bring your routine the same comfort, glow, and joy they’ve brought to my family for generations. Because skincare isn’t just about looking good, it is about feeling taken care of.
If you enjoyed these natural skincare recipes, save this DIY post to your skin care board so you can come back anytime. Be sure to check out our other favorites, including homemade face scrubs, gentle DIY body scrubs, and our go-to turmeric treatments for glowing skin.
Homemade beauty feels better when we share it. That is how these recipes have survived through grandmothers, aunties, cousins, and now, you and me.
Give yourself at least ten minutes where the world can wait.
Let a cool, creamy, deliciously gooey mask melt the stress right off your face.
Your skin will thank you.
Besitos,
Laura
Disclosure: We only recommend products we would use ourselves. All opinions are our own. This post may contain some affiliate links and if you choose to purchase some services or products using these links, we receive a small commission at no additional cost to you. We participate in the Amazon LLC Associates Program.