DIY Sugar Scrub for Glowing Skin & Gentle Exfoliation
Our family’s DIY sugar scrub was one of the very first things I learned to make in the kitchen that wasn’t food. My mother and grandmother always loved natural beauty and simple ways to care for their skin.
Even after years of trying different DIY beauty recipes, from lip balms to face masks, my grandma’s sugar scrub, with just one extra ingredient, is still the one I use most. It’s simple, easy to customize, affordable, and works really well. My friends often ask me for this recipe, too.
If you’re making your first homemade scrub or want something more natural and nourishing than store-bought products, this guide covers everything you need: an easy and effective recipe, variations, ingredient benefits, troubleshooting, shelf life, and ways to personalize your jar.
Why Use a DIY Sugar Scrub?
Our face and body need regular exfoliation to stay smooth and healthy. Gently removing buildup and dead skin helps your skin look its best. A homemade sugar scrub can revive dull skin, restore softness, and bring back a natural glow.
This recipe has been in my family for generations, so you can trust it’s been well tested and loved. Here are some main benefits of using a DIY sugar scrub:
Natural & Non-Toxic Ingredients
When you make your own scrub, you know exactly what’s in it. There are no preservatives, artificial scents, or unknown fillers, just simple, clean ingredients from your kitchen. It’s a safe, natural choice compared to store-bought scrubs with synthetic ingredients.
Gently Exfoliates Without Irritation
A good exfoliator should smooth your skin, not scratch it. Unlike rough salt scrubs that can sting or dry your skin, sugar melts as you massage it in, removing dead cells and keeping your skin soft and hydrated.
Easily Customizable
A DIY sugar scrub is easy to customize, so you can make one to match your mood, skin, or the season. If your skin is dry, add more oil. If it looks dull, try turmeric. For a calming effect, use lavender or vanilla.
Easy-to-Make for Beginners
You don’t need special tools, complicated steps, or any DIY experience to make a sugar scrub. With just a few basic ingredients, you can make a great exfoliator.
Let’s get started with the only DIY sugar scrub you’ll ever need.
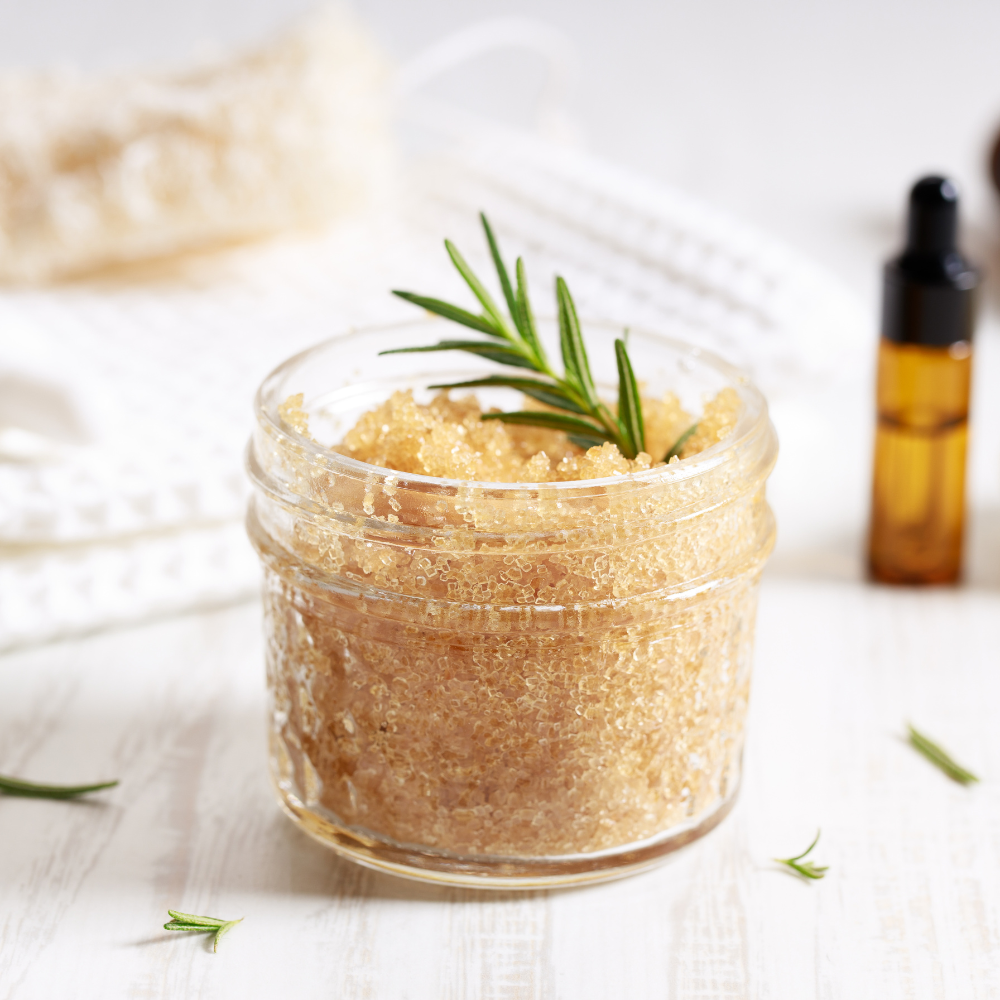
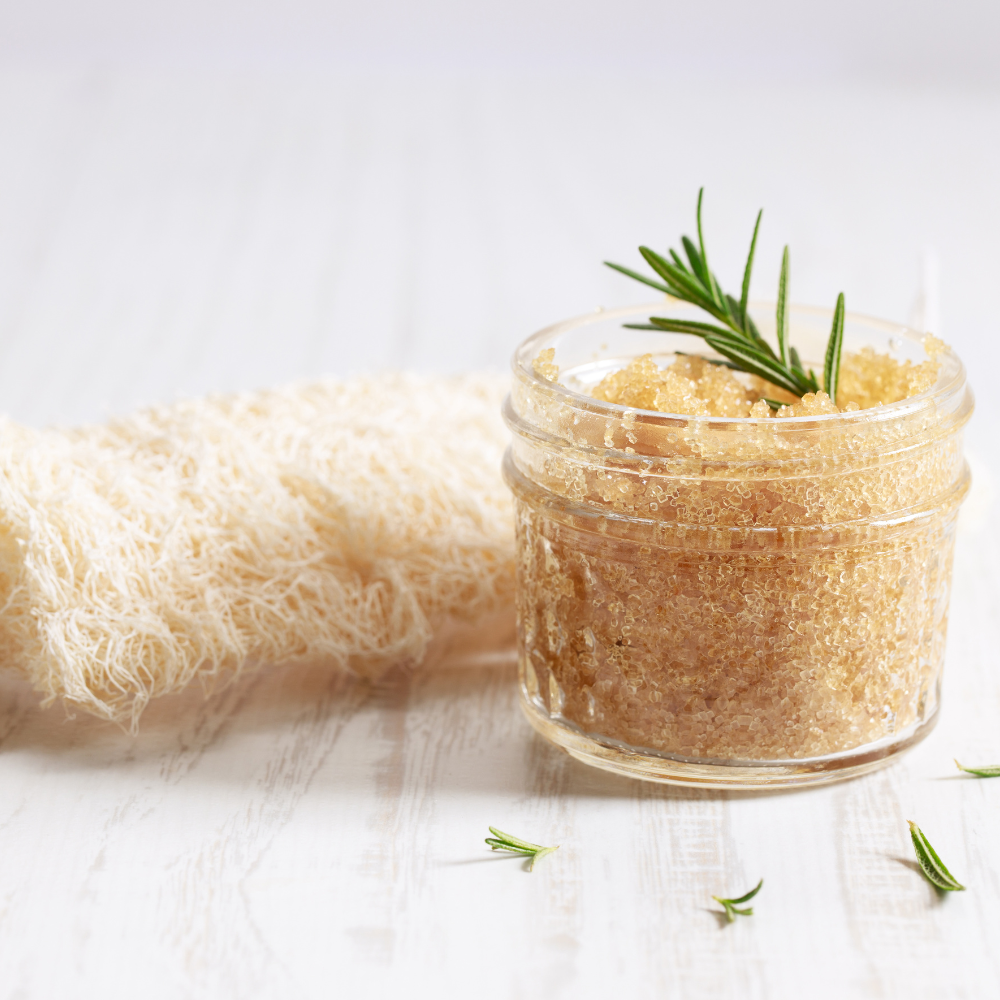
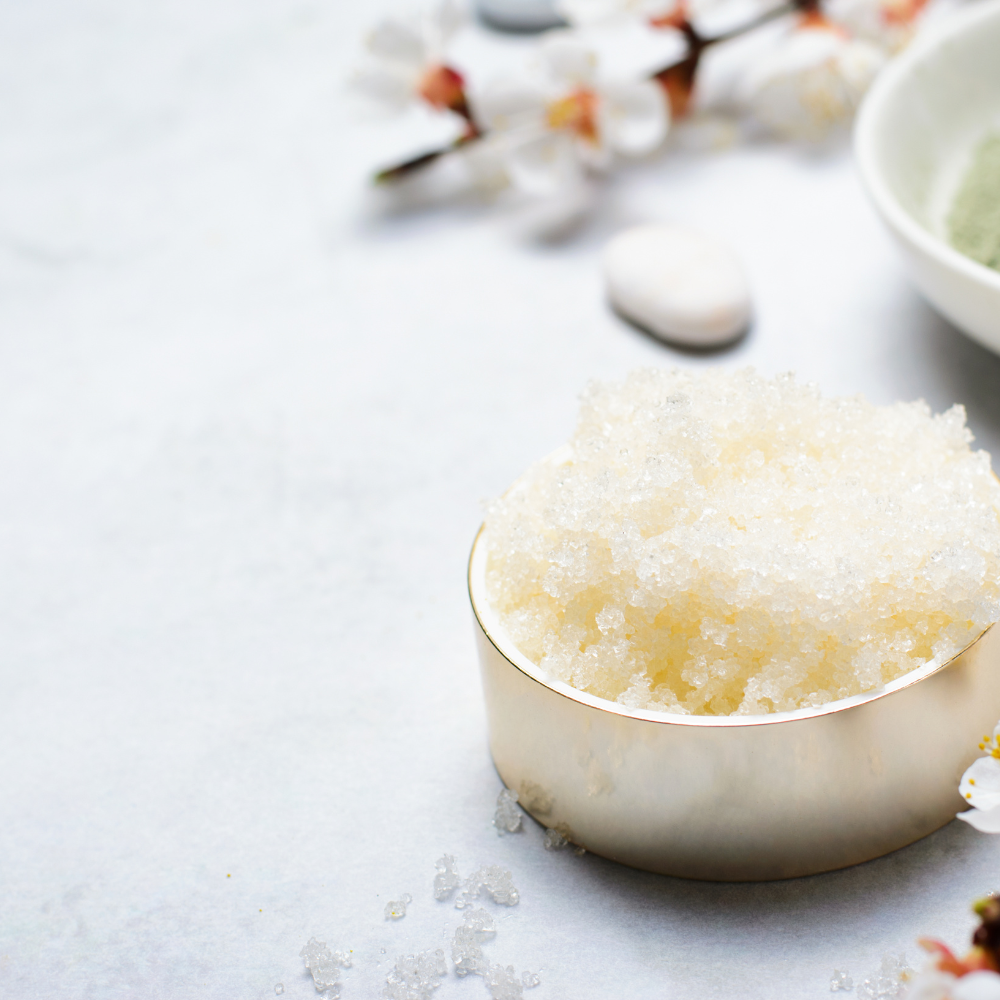
DIY Sugar Scrub Recipe
This DIY sugar scrub began as a family recipe, and I’ve made it my own while experimenting with natural skincare. It’s quick and easy to customize, which is probably why I’ve used it for so long.
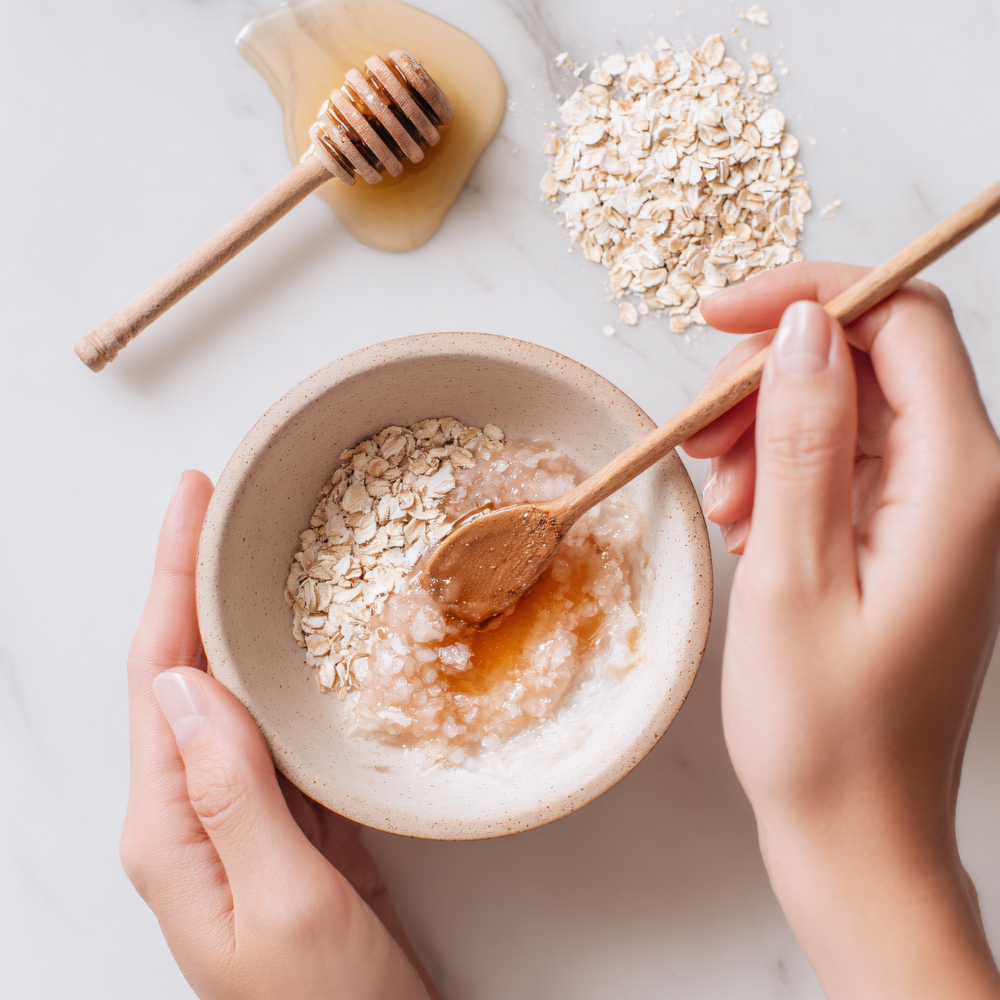
DIY Sugar Scrub Ingredients
1 cup sugar
1-2 teaspoons honey
½ cup oats
1 cup olive oil
1 teaspoon vitamin E oil
How to make a homemade sugar scrub
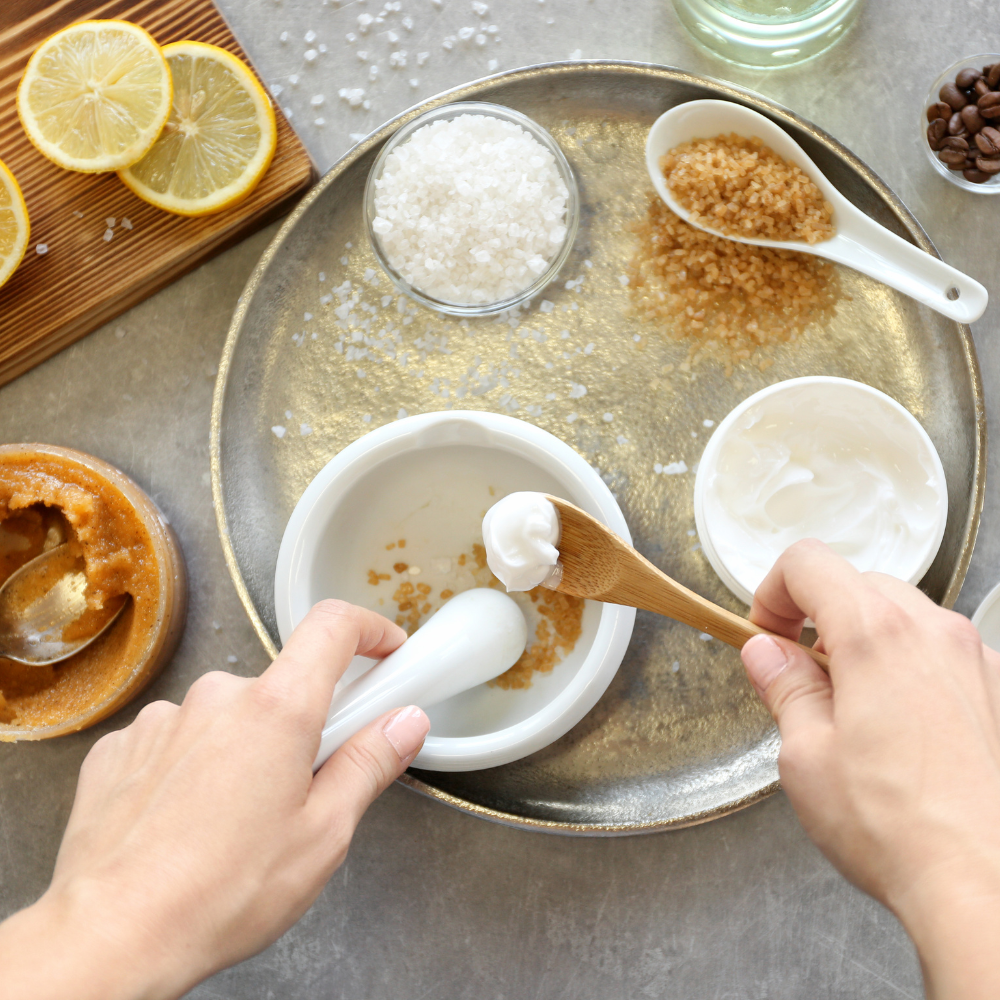
Combine your sugar, quick oats, and oil in a medium bowl.
Stir until the mixture comes together. You’re looking for a soft, sandy texture that feels fluffy, hydrated, and not greasy.
Add your honey and vitamin E oil, then mix again until everything is evenly incorporated.
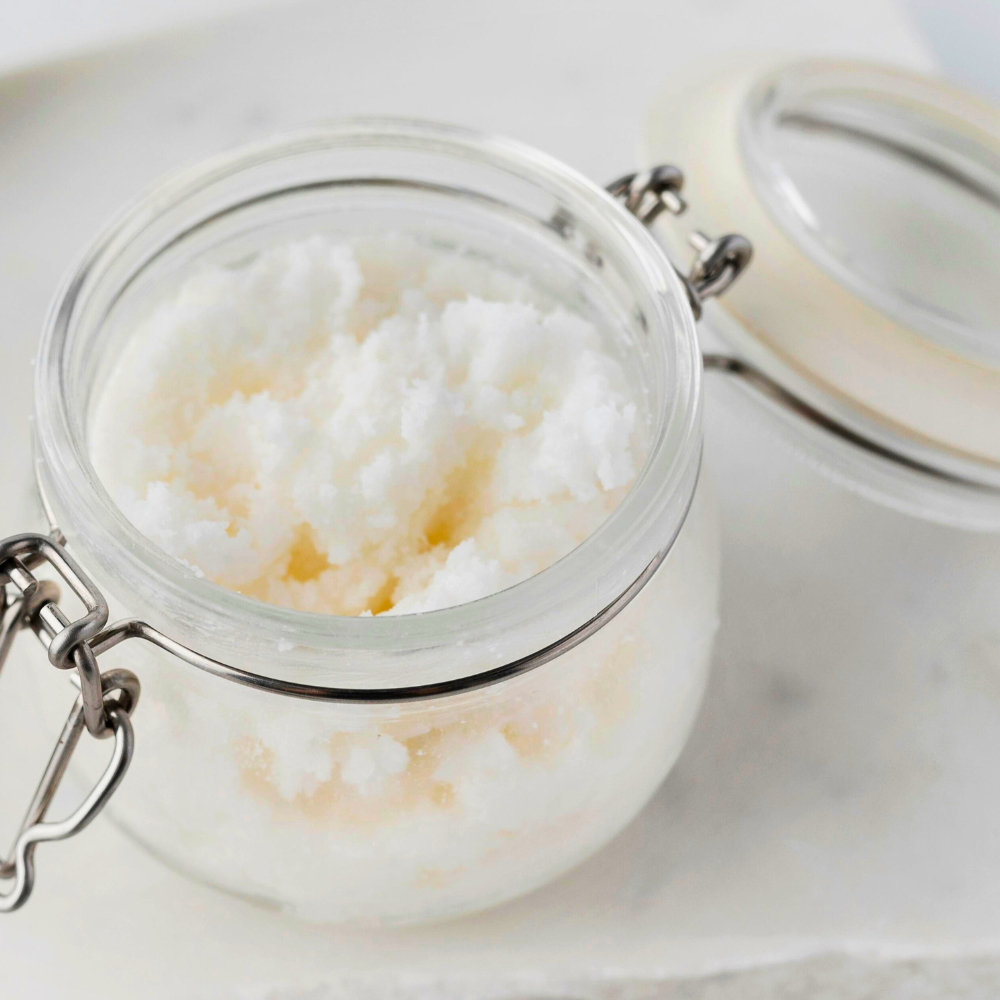
Scoop into an airtight jar and store in a cool, dry place.
The magic of this recipe is in its simplicity. My grandmother always said a beauty ritual should be easy enough to use again and again, or else it’s just something you admire rather than actually use. She was right. This homemade sugar scrub takes just minutes to make, uses ingredients most of us already have, and always feels luxurious.
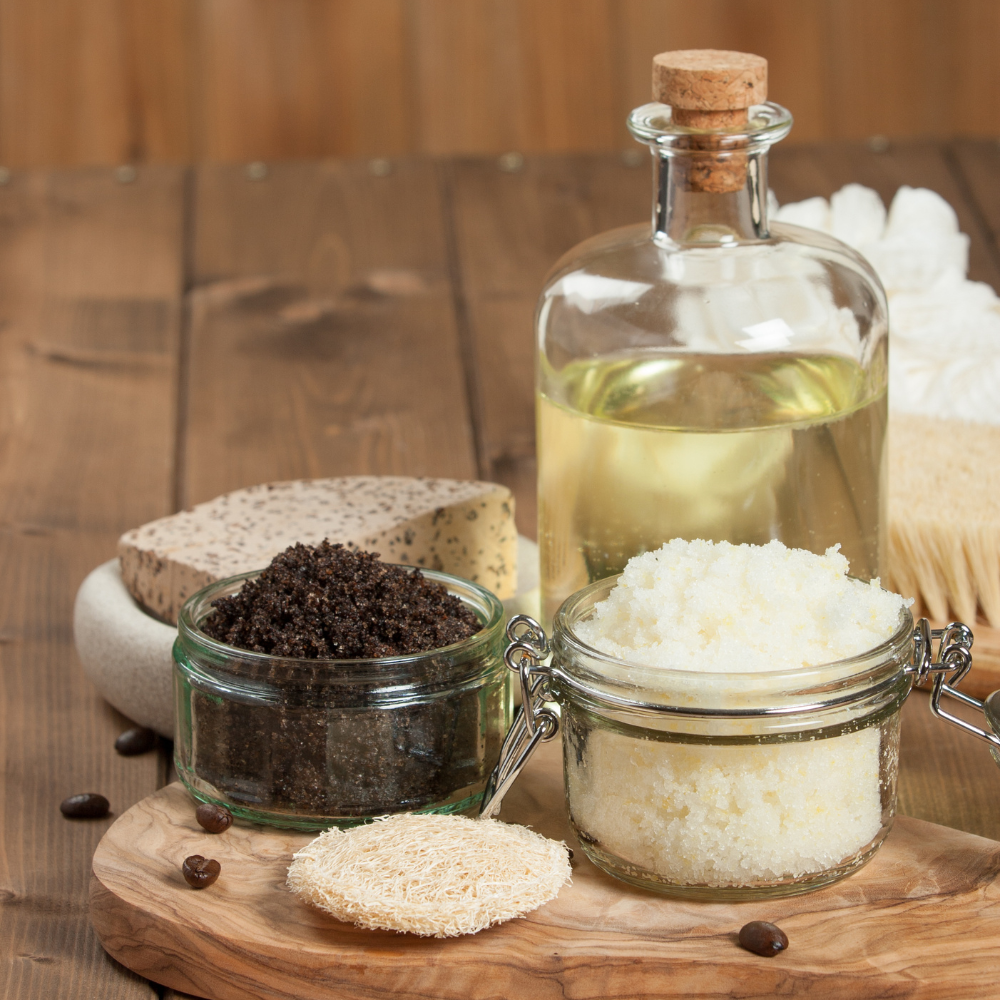
DIY Sugar Scrub Benefits
A good DIY sugar scrub starts with quality ingredients. Each one has its own benefits, from gentle exfoliation to deep hydration and better circulation. Here’s why these basics work so well together.
Natural Exfoliants in Homemade Sugar Scrubs
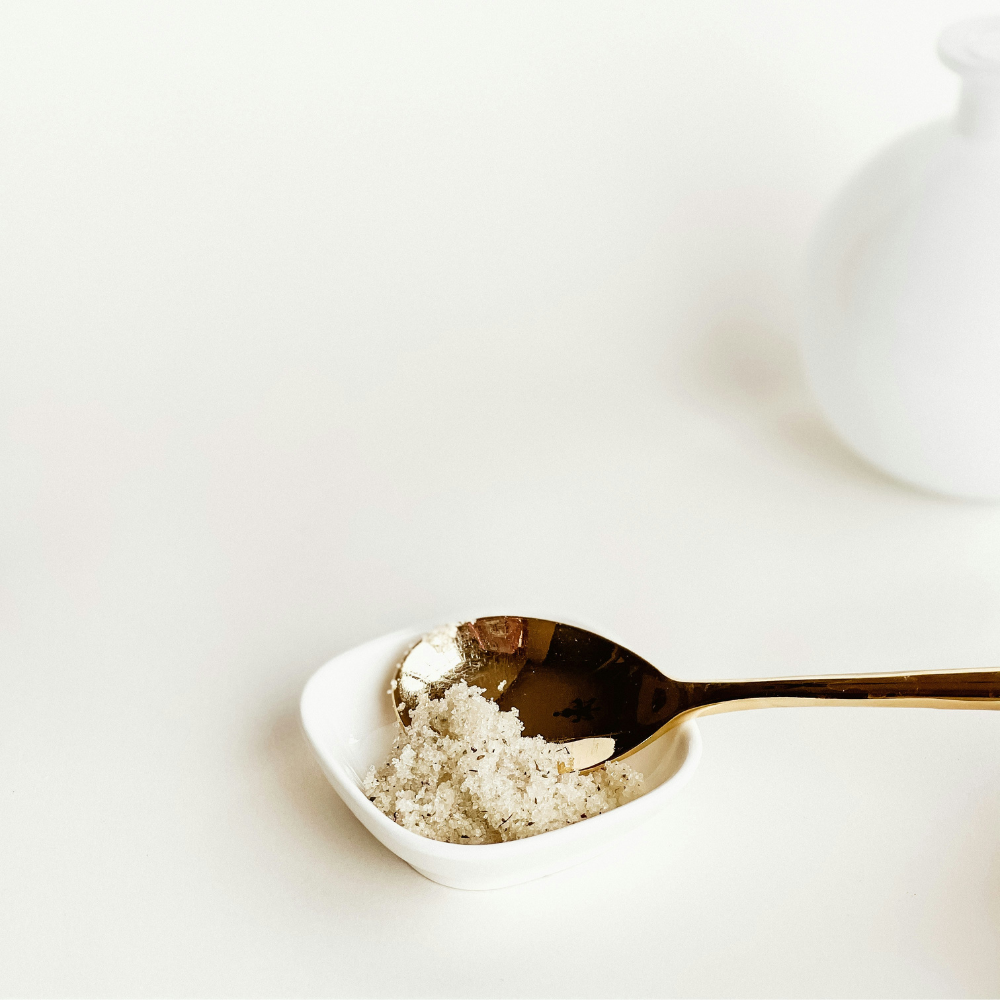
Sugar
Sugar is the main ingredient in this scrub, and for good reason. It’s one of the gentlest natural exfoliants: fine, rounded, and safe for almost every skin type. Its natural glycolic acid helps dissolve dead skin cells and boosts hydration instead of stripping moisture. Sugar also melts as you massage, which prevents over-exfoliation and makes it great for sensitive or easily irritated skin.
You can use white or brown sugar.
Oats
Finely ground oats provide very gentle exfoliation and are especially good for sensitive or irritated skin. They help calm redness, reduce inflammation, and soothe dryness while gently exfoliating. When mixed with sugar in a homemade sugar scrub, oats create a balanced exfoliant that’s safe for the face and still effective for the body.
Natural Moisturizers in Homemade Sugar Scrubs
Coconut Oil
Coconut oil is rich in fatty acids. It moisturizes the skin and helps strengthen the skin barrier. It’s a great base for a DIY sugar scrub, especially for dry or rough areas like elbows, knees, and heels.
Jojoba Oil, Avocado Oil & Sweet Almond Oil
These lightweight oils closely mimic the skin’s natural oils. They are great for facial scrubs and sensitive skin. They absorb easily and help balance oil production. Adding them to a homemade sugar scrub keeps skin hydrated, soft, and smooth after exfoliation.
Olive Oil
Olive oil is packed with antioxidants and deeply nourishing compounds that soften the skin and protect against moisture loss. It’s especially helpful during colder months or in dry climates when skin feels tight or flaky. Incorporating olive oil into a DIY sugar scrub creates a rich, conditioning exfoliant for the body.
Natural Butters (Shea, Cocoa & Mango Butter)
These rich plant butters provide intense hydration and help lock in moisture after exfoliation. They also soothe irritation and improve skin elasticity. Using natural butters in a DIY sugar scrub is especially beneficial for dry skin and areas prone to stretching.
Nut Milks (Almond & Coconut Milk)
Nut milks add a creamy texture to DIY sugar scrubs and provide gentle hydration. They work well in facial scrubs and soothing body exfoliants, especially when combined with oats and honey in a calming homemade sugar scrub.
Honey
Honey is naturally antibacterial and very moisturizing. It helps heal small skin tears, calms inflammation, and leaves skin soft and radiant. Adding honey to a homemade sugar scrub boosts hydration and makes it gentle enough for regular use on the face and body.
Aloe Vera
Aloe vera is a natural hydrator with cooling and calming properties. When added to a DIY sugar scrub, it soothes irritation, reduces redness, and helps skin heal after exfoliation. It’s great for sun-exposed skin and face scrub recipes.
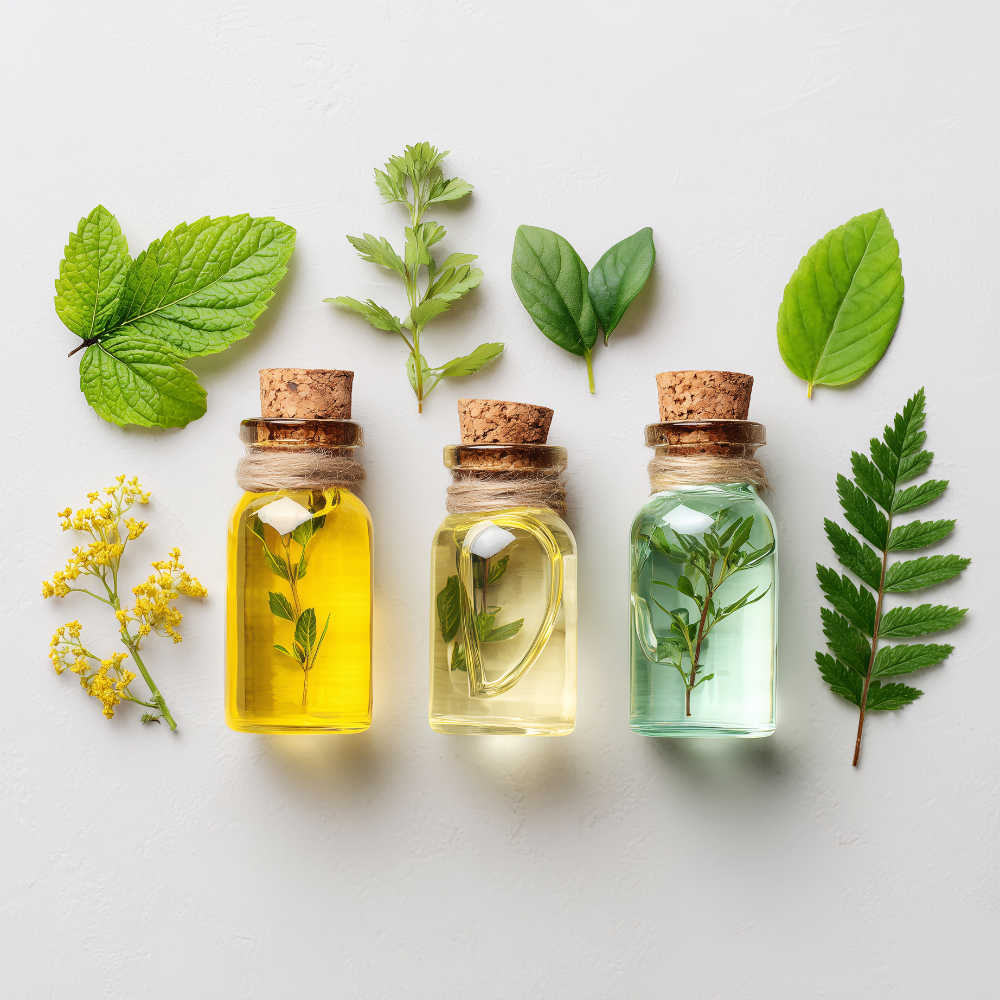
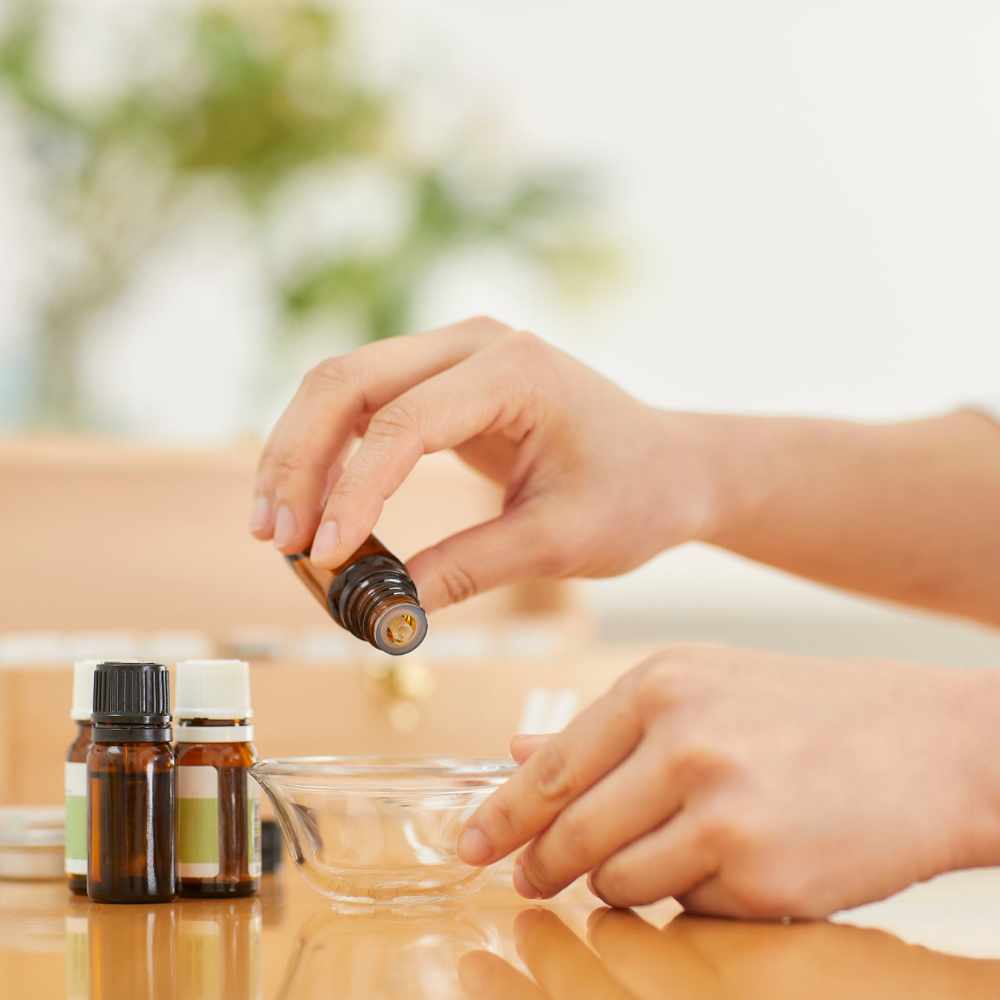
Essential Oils for DIY Sugar Scrub Recipes
Peppermint Essential Oil
Peppermint oil is refreshing and helps wake up tired skin. Use it sparingly in body scrubs, especially for sore legs or feet.
Lavender Essential Oil
Lavender oil promotes relaxation. It’s perfect for soothing and calming homemade sugar scrubs, especially for evening routines or sensitive skin.
Tea Tree Oil
Tea tree oil helps clarify the skin, reduce breakouts, and calm inflammation. It works well in facial DIY sugar scrubs for acne-prone skin when used in very small amounts.
How to Use a DIY Sugar Scrub for Face and Body
Using your DIY sugar scrub correctly is just as important as the ingredients themselves. Your goal is effective exfoliation while protecting your skin’s natural barrier.
Best Practices
Use a homemade sugar scrub on the face once every 7-10 days.
For the body, you can exfoliate up to 1-2 times per week.
Reduce frequency if your skin feels irritated.
Always start with damp skin.
Scoop a small amount of scrub with clean fingers.
Massage gently using circular motions. Avoid pressing too hard, especially on the face.
Focus on rough areas like elbows, knees, heels, and dry patches.
Let the oils do the work. Exfoliation should feel soothing, not abrasive.
Post-Scrub Care for Homemade Sugar Scrubs
There are two simple ways to prepare and use a DIY sugar scrub. The first is mixing sugar with nourishing oils and humectants like honey to create a classic homemade exfoliant.
The second option is to blend your homemade sugar scrub with a gentle cleanser. When you use it this way, you won’t need to cleanse again after exfoliating.
After rinsing, always follow up with a moisturizer, body butter, or facial oil to lock in hydration. Plant-based oils such as almond, jojoba, or coconut oil, combined with aloe vera or honey, help restore moisture and leave your skin soft, glowing, and balanced.And don’t forget daily protection. Using sunscreen on exposed skin after a DIY sugar scrub helps keep your skin healthy over time.
Recipe Variations
One thing I love about this DIY sugar scrub is how easy it is to customize. Here are some variations we’ve tried over the years:
turmeric, Honey & Brown Sugar Scrub
1 cup brown sugar
½ cup sweet almond oil
1-2 tbsp turmeric
1-2 tbsp honey
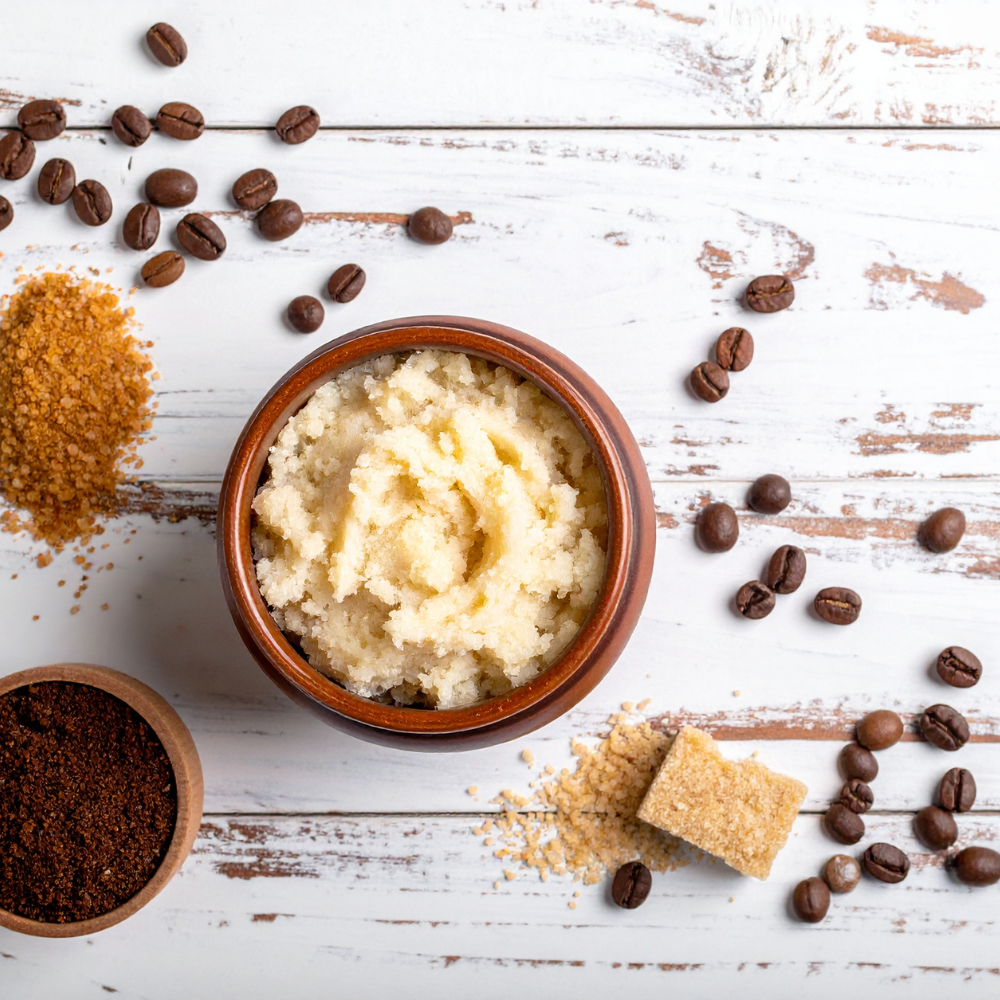
Vanilla Latte Homemade Sugar Scrub
1 cup white sugar
1/3 cup used coffee grounds
1 cup coconut oil
1 tsp vanilla
Troubleshooting Your DIY Sugar Scrub
One of the best things about making a DIY sugar scrub at home is how flexible it is. Even simple recipes can sometimes turn out a bit off. Maybe your scrub is too oily, or the texture isn’t as fluffy as you want.
The Scrub Feels Too Oily
This is totally normal, especially if your oil was warm when mixing or if you added a bit more than planned.
Add a little more sugar. Start with one tablespoon, mix, and keep adjusting until the scrub thickens to a soft, sandy texture. The sugar will naturally balance the mixture without making it dry.
The Scrub Feels Too Dry or Crumbly
If your sugar scrub won’t hold together, it simply needs additional moisture.
Add 1 to 2 teaspoons of your carrier oil (coconut, jojoba, sweet almond, or olive—whichever you used). Mix well and add more slowly until it feels silky and easy to scoop.
The Scrub Is Too Runny
This can happen if you used melted coconut oil or if the scrub sat in a warm bathroom.
Put the container in the fridge for 10 to 15 minutes to let the oils firm up. If you want a thicker texture, add a few more spoonfuls of sugar and stir.
The Sugar Is Melting or Dissolving
Sugar can melt if exposed to steam, humidity, or direct water droplets inside the jar.
Keep your scrub away from the shower stream and always use clean, dry hands or a spoon to scoop it out. If needed, add more sugar to bring back the grainy texture.
Want a Softer, Finer Scrub?
Perfect for sensitive skin or gentle exfoliation.
Pulse your sugar in a blender for 2 to 3 seconds to make it finer, almost like powdered sugar. This works well for hand scrubs or pre-shave smoothing.
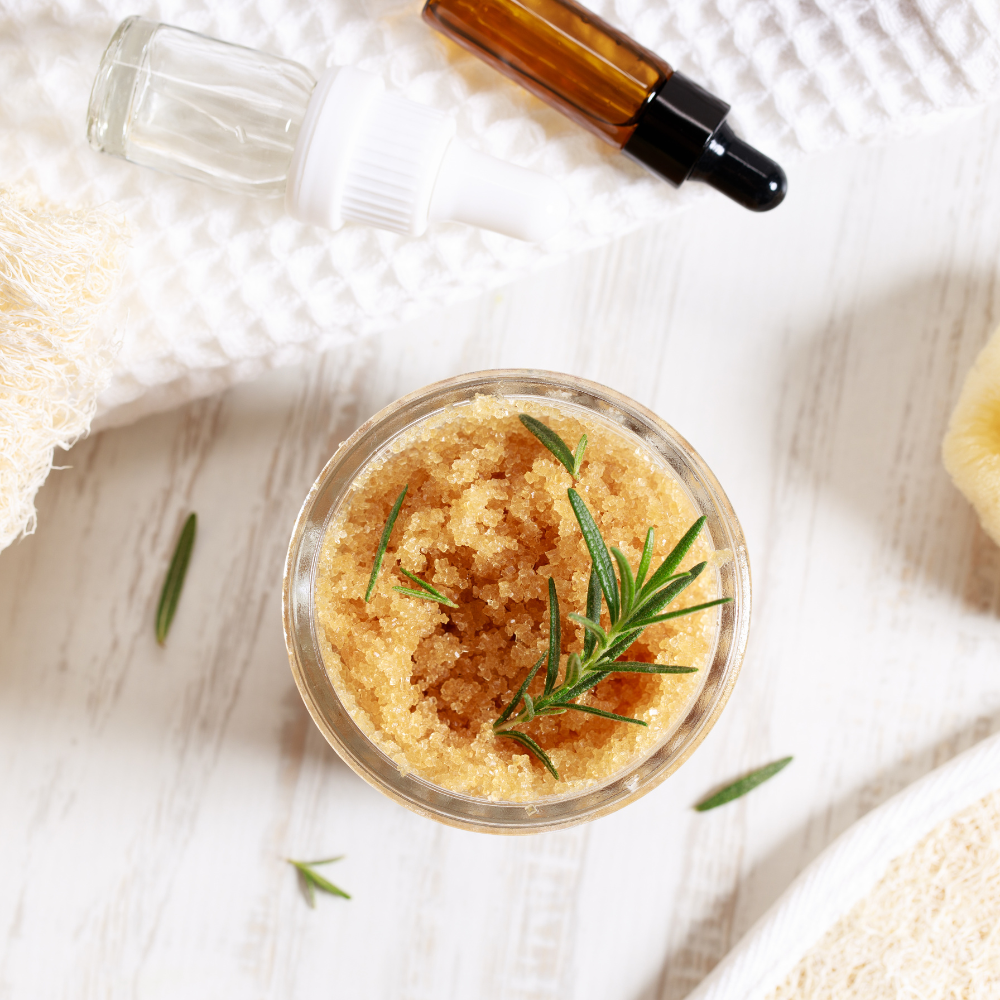
How to Store Your DIY Sugar Scrub + Shelf Life
The better you store your homemade sugar scrub, the longer it will stay fresh, luxurious, and effective.
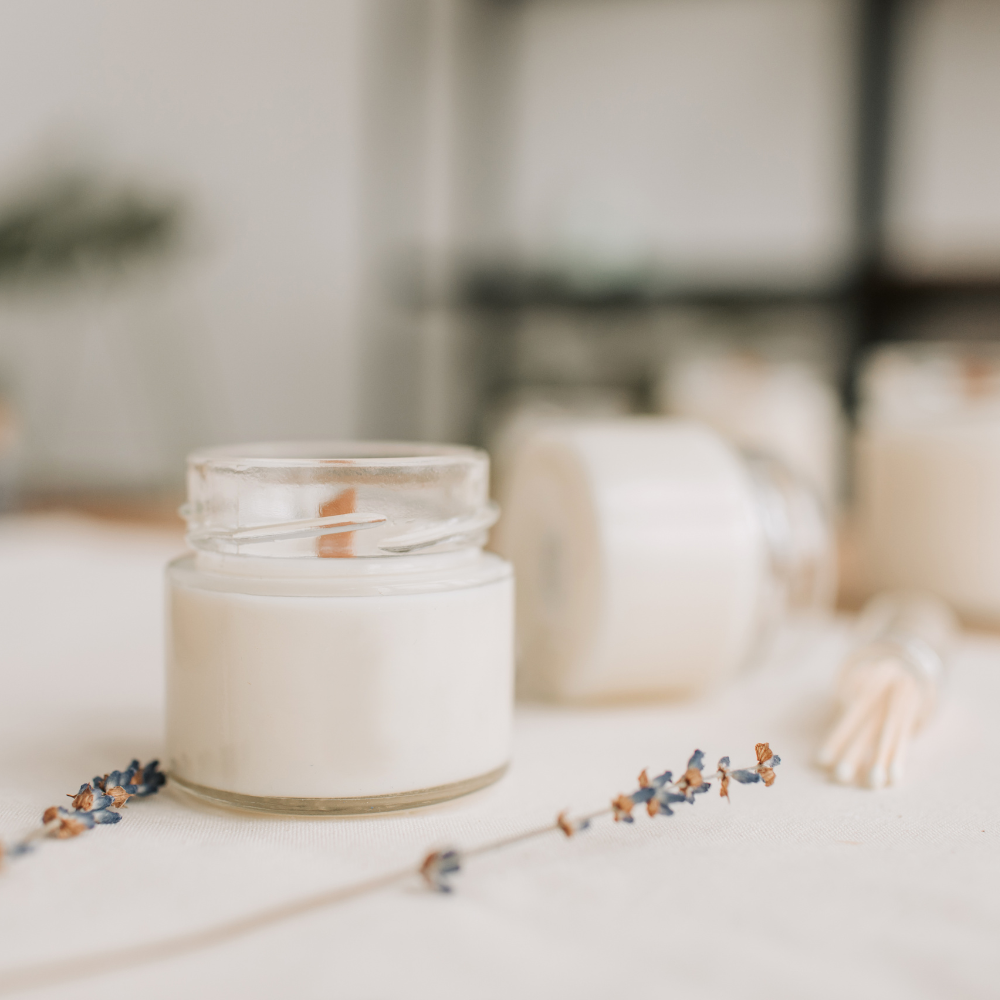
Keep your scrub in an airtight glass or glass jar.
Store it in a cool, dry place, away from water, humidity, and shower steam.
Shelf life is typically 2-3 months, as long as no water enters the jar.
If you add fresh ingredients like citrus zest or fresh herbs, the shelf life shortens to 1-2 weeks.
Pro Tip: Use a clean spoon, spatula, or scoop instead of dipping wet fingers in. This keeps your scrub fresh and helps prevent bacteria.
DIY Sugar Scrub FAQs
-
Yes, just make sure you use brown sugar, which is softer and gentler than white sugar, and pair it with a lightweight oil like jojoba or sweet almond. Avoid essential oils if your skin is sensitive.
-
Yes, pair it with a lightweight oil like jojoba or sweet almond. Avoid essential oils if your skin is sensitive.
-
It depends on your oil. If you’re acne-prone or get clogged pores easily, choose a non-comedogenic oil like jojoba, grapeseed, or sweet almond. Avoid coconut oil on body areas where you tend to break out.
-
Yes, it’s one of the best things you can do. Exfoliating before shaving helps lift hairs, reduce ingrowns, and give you a smoother glide.
-
Yes, but with a note: if you’re prone to body acne or keratosis pilaris, choose jojoba, grapeseed, or sweet almond oil instead.
-
1-2 times per week for most skin types.
If you have sensitive or dry skin, once a week is plenty.
If you exfoliate before shaving, do it every time you shave.
-
Absolutely! Your skin changes with the seasons, hormones, diet, and stress levels.
Use brown sugar and almond oil in winter, or white sugar and coconut oil in the summer. Lavender and vanilla are great choices when you want something calming.
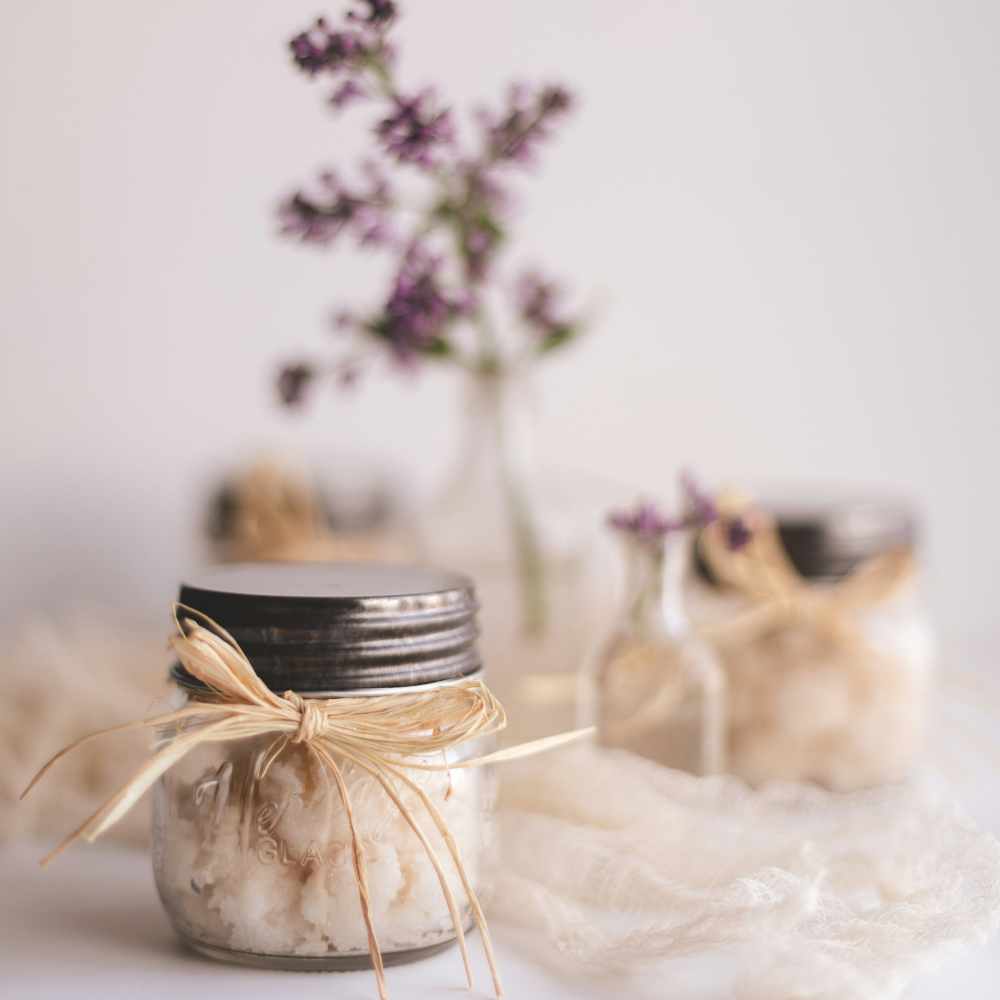
Gift Ideas: Make This Your Signature DIY Beauty Gift
This DIY sugar scrub has become my most-requested homemade gift for birthdays, bridal parties, holiday baskets, new moms, hostess gifts, and even long-distance care packages. It’s simple, personal, and feels incredibly pampering.
Use pretty 4 to 8-oz mini jars. Tie a ribbon around the lid and add a handwritten label or tag. These are the ones we get from Amazon.
While making your homemade sugar scrub, personalize your mix. Try lavender in spring, citrus in summer, and vanilla or cinnamon in winter.
It’s thoughtful, affordable, and always feels handmade with love, because it is.
This is by far my favorite DIY sugar scrub recipe for naturally glowing, silky-smooth skin. I hope you give it a try and love it as much as I do. It’s a reliable homemade sugar scrub recipe you can come back to anytime you want to make your own at home.
If you enjoyed this article, don’t forget to pin it and save it for later. That way, it’ll be ready whenever you want to make your own DIY sugar scrub at home.
Be sure to check out our DIY lip scrub recipes , DIY scalp recipes and our favorite turmeric lip exfoliants!
If you have a favorite sugar scrub recipe, a go-to ingredient combo, or any tips for making the perfect homemade scrub, I’d love to hear from you. Share your ideas in the comments, and let’s keep this glowing-skin ritual going together.
Besitos,
Laura


How to make a DIY eyelash serum at home using natural oils. This easy homemade lash serum recipe helps condition and nourish your natural lashes.